Introduction to DynamoDB -AWS

In this post you can see basic about Amazon DynamoDB.

What is this DynamoDB feature in Amazon Web Services ?
Its a fast and flexible NoSQL database service for all applications need consistent, single-digit millisecond latency at any scale. It is a fully managed database and supports both document and key-value data models.

Create a new table

In the AWS console search and select DynamoDB
Screen Shot 2017-09-29 at 11.54.29 AM

From there select Create Table

DynamoDB

Now we are going to create by filling some steps here.
Fill the necessary as below and tick “Use default settings”
Click Create

Screen Shot 2017-09-29 at 11.55.49 AM.jpg

You will get the following screen.

Screen Shot 2017-09-29 at 11.57.16 AM.png

Adding Data

Click Items from the top tab section and click Create items.

Screen Shot 2017-09-29 at 11.57.25 AM.png

Type these details when you get the window
Artists (Value-String) : Pink Floyd
Song (Value-String) : Money

To create another attribute click “+” left to the song then click Append. In the drop-down list select string.
Now new attribute row will be added

In field type – Album (Value-String) | Value – The dark side of the moon
Field – Year | Attribute type – Number | Value – 1973

Click Save

Screen Shot 2017-09-29 at 11.59.38 AM

Now I am creating another two items.

Screen Shot 2017-09-29 at 12.01.18 PM

Screen Shot 2017-09-29 at 12.02.54 PM

Query the Table

Query operations find items based on primary key and optionally sort key.

Click the pull down menu (Query:[Table]) and get the scan option and select Query instead of Scan. As you can see I have filled the necessary boxes with details to make the scan. And my result also shown in the image.

Partition key is same as Primary key in the database


screen-shot-2017-09-29-at-12-05-04-pm.png

Delete the table

From the left pane click Actions and click delete

Screen Shot 2017-09-29 at 12.09.01 PM.png

Click the confirmation as well

Screen Shot 2017-09-29 at 12.09.09 PM.png

Hope you have a clear idea about creating a simple database in AWS and entering data into it and doing query to the database. 

Thank you !!

Useful links –
http://docs.aws.amazon.com/amazondynamodb/latest/developerguide/Introduction.html
https://www.youtube.com/watch?v=ujWV3-m1pLo

Introduction to Amazon Simple Storage Service (S3)

This is my third post and Its about Amazon S3 – Amazon Simple Storage Service..

What is the S3 ?
Amazon is S3 is a object storage store and retrieve any amount of data at any time from anywhere. It is designed to 9.9999999% durability. S3 provides comprehensive security and compliance capabilities that meet even the most stringent regulatory requirements. S3 is the only cloud storage solution with query-in-place functionality, allowing you to run powerful analytics directly on your data at rest in S3. And Amazon S3 is the most supported storage platform available

In this post I am going to show 

  • Create a bucket in S3
  • Add an object to your bucket
  • Manage access permission on an object
  • Create a bucket policy
  • Use bucket versioning 

Create a bucket

Using AWS console go to services and click S3.

Screen Shot 2017-09-28 at 1.37.05 PM

From the S3 dashboard click “+Create Bucket“. You will forward to another window where you can create your bucket.

screen-shot-2017-09-28-at-1-37-18-pm.png

Enter the bucket name as you wish and keep the region default or if you have any specific region select it.
Click Next

Screen Shot 2017-09-28 at 1.37.44 PM.png

GO forward and when you get into this step read all three and get an idea. Here I am gonna activate Versioning to my bucket.  When you select it you will get an to make it confirm and save it. Follow the instructions and click save.

Screen Shot 2017-09-28 at 1.39.13 PM.png

Click next from there and click finish to create the bucket.

Screen Shot 2017-09-28 at 1.40.34 PM

Ok! My bucket is created and we will upload a file to and play around it.

Click the bucket name and go inside the bucket. Since your bucket is a new one you will get a kind of welcome page.  From top menu select Upload. 

Screen Shot 2017-09-28 at 1.41.05 PM.png

Click Upload and upload a file to your bucket. Just simply click Add Files and browse the computer and add a file. 

Screen Shot 2017-09-28 at 3.19.23 PM.png

Now you can see my uploaded file in the bucket. That step is done !

screen-shot-2017-09-28-at-1-41-54-pm.png

Will see whether anyone from anywhere can access this file.
Click on the image and from the properties copy the link URL and copy and paste it on the browser and try to access the URL

screen-shot-2017-09-28-at-3-25-08-pm.png

Trying the weblink on web browser.

screen-shot-2017-09-28-at-1-45-22-pm.png

Not a good luck. Its not working. So we have to make it public. 

Go to the permission tab of the file.  In the bottom of permissions you can see Public Access. In there select everyone and then you will get a popup and from there select Read Object. Click Save.

Screen Shot 2017-09-28 at 1.43.01 PM.png

Now we will check from the browser.

Screen Shot 2017-09-28 at 3.34.48 PM

Yes its working.

Create Bucket Policy

Go to the bucket and upload a file as you did before. And try to access is using its URL like we did in the previous step. You will get the access denied message.

screen-shot-2017-09-28-at-1-45-22-pm1.png

Now we will apply policy to the whole bucket.

Go to the bucket and click permission and from there click Bucket Policy. In here you can create your own policy and manage it or you can use the code generator to create a one. In here I am going to use the code generator.

Screen Shot 2017-09-28 at 1.46.59 PM

Before we go to editor, copy the ARN: to the clipboard and keep it.
Click the Code Generator.

Type of Policy: S3 Bucket Policy
Principal: *

Screen Shot 2017-09-28 at 1.48.07 PM.png
AWS Service: Amazon S3
Actions: GetObject

Screen Shot 2017-09-28 at 1.49.00 PM.png

Now paste the ARN code and at the end of the code type /*
Click Add statement

Screen Shot 2017-09-28 at 1.49.27 PM.png

Generating Policy
Copy the code and paste to the bucket policy editor.
Screen Shot 2017-09-28 at 1.49.38 PM.png

Paste the code and click save.

Screen Shot 2017-09-28 at 1.50.13 PM

Try to open the file and check now.

Screen Shot 2017-09-28 at 1.53.40 PM.png

Yes its working.

Explore Versioning

From S3 console click the overview. And upload another picture but set it name same as the previous image. Upload the file and you will see two files with same name.

Click the file and then from the popup windows click the latest version. You will get the old file name over their. Not the latest one.

Screen Shot 2017-09-28 at 2.01.52 PM.png

Hope you have some kind of idea about S3 and work with S3

Useful links – http://docs.aws.amazon.com/AmazonS3/latest/user-guide/upload-objects.html


Introduction to AWS Key Management

In this post I am going to talk about the AWS Key Management basic. Lets see what we can do in AWS key management. 

What is Key Management ?
Key management is the service that you can create and control encryption keys that is use to encrypt your data.
You can use KMS with Amazon S3, Amazon EBS, Amazon RedShift, Elastic Transcoder, Amazon WorkMail and Amazon RDS. KMS also integrated with AWS CloudTrail to provide you with key usage logs to help meet your regulatory and compliance needs. 

Create and use KMS Master Key

First of all log into your AWS console and top of the right conner next your account name you can see the region. In my case my region is US-West (Oregon)

Screen Shot 2017-09-28 at 10.53.58 AM

Keep your region in your mind because you gonna need it in the future when we are doing the lab.

Go to IAM and from the left pane click Encryption Keys

screen-shot-2017-09-28-at-9-34-18-am.png

In your Encryption Keys windows you can see Get started. Like shown in the below image select the correct region. Remember I asked you to keep it in your mind. So mine is Us-West Oregon and I have selected it. Then Click Create Key.

screen-shot-2017-09-28-at-9-35-56-am.png

Fill the details and create the KMS. I have entered “testKeyOne” as my Alias and Description as “KMS Key for S3 Data

Screen Shot 2017-09-28 at 9.37.01 AM.png

Click Next Step to proceed.. Go forward by Clicking till you get the Step 3: Define Key Administrative Permissions. In here I have two administrators and I am selecting “awsstudent” and continue clicking Next Step.

Screen Shot 2017-09-28 at 9.38.15 AM

When you go to the next Step (Step 4) it will show you the “Preview Key Policy” and from there I have highlighted Key ID. Copy it and keep it in your notepad. We will need it later on.

Screen Shot 2017-09-28 at 9.38.39 AM.png

After the previous step you will get the successful message in the green message box on the top of the page.

screen-shot-2017-09-28-at-9-39-43-am.png

Creating S3 bucket and adding CloudTrail to it and encrypting data in it.

Go to the AWS console and go to services and click CloudTrail. In the left pane click and trails and in that windows click “Create Trail”

Screen Shot 2017-09-28 at 9.40.40 AM

Create Trail
Trail Name: Give a name as you like
Apply trail to all regions : No

Leave all other settings as it is and move to S3 bucket creating in the bottom of that page.

Screen Shot 2017-09-28 at 9.43.58 AM

Create a new S3 Bucket: Yes
S3 Bucket: testbucket-1992-sarith
Click Create

Screen Shot 2017-09-28 at 9.44.04 AM

Encrypt data in S3 Bucket

From the AWS console go to S3. You can see my bucket that is created previously.

screen-shot-2017-09-28-at-9-47-21-am.jpg

Click the bucket and select Upload

screen-shot-2017-09-28-at-9-47-36-am.png

Browse your computer and click the file you want to upload to the bucket. Here is my file called “Sarith Senadheera” Then click next

Screen Shot 2017-09-28 at 9.47.49 AM

Step 2 : Keep the default settings and go forward.

Screen Shot 2017-09-28 at 9.48.01 AM.png

Step 3: Select AWS KMS master and from the Select key, I am selecting my previous created encryption key “testKeyOne“. Then click Upload

Screen Shot 2017-09-28 at 9.48.41 AM.png

So here is my uploaded pdf document.
Click on AWSLogs and go inside the AWSLogs till you get the log files.

Screen Shot 2017-09-28 at 9.49.10 AM.png

Select the latest log file and open it. In the highlighted section you can see the uploaded file name and encryption key ID.

Screen Shot 2017-09-28 at 10.35.18 AM.jpg

Now go to the IAM dashboard. From the left pane click encryption key. From the region section select the region.

Screen Shot 2017-09-28 at 10.36.22 AM.png

Click the key name that you wish to modify. After that inside the key select the key user. In my case its awsstudent. Select the user and click remove then windows will prompt to get the confirmation click Yes,remove. 

Screen Shot 2017-09-28 at 10.37.24 AM.png

I don’t have any key users here in my case. Lets add another user here.

Screen Shot 2017-09-28 at 10.37.33 AM.png

Click add and proceed forward.Select awsstudent and click attach.

Screen Shot 2017-09-28 at 10.37.55 AM

Now my key user is added again to the policy.

Screen Shot 2017-09-28 at 10.38.19 AM

This shows you how you can control which IAM user use KMS keys that create.

For more information about Amazon KMS visit – http://aws.amazon.com/kms/pricing/

Thank you all !! If you wish to know anything feel free to email me 🙂

Cheers !

Introduction to AWS Identity and Access Management (IAM)

AWS Identity and Access Management (IAM) is a web service that enables Amazon AWS users to manage users and user permissions. Use of IAM, you can centrally manager users, security credentials such as access keys and permissions that control which AWS resources users can access.

In this blog post you will go through following areas,

  • Exploring pre-created users and groups in IAM
  • Inspecting IAM policies as applied to the pre-created groups
  • Following a real-world scenario, adding users to groups with specific capabilities enable
  • Locating and using the IAM Sign-in URL
  • Experimenting with affects of policies on service access

Before we start exploring about IAM and features, I will explain little what is IAM and the use of it.

Manage IAM user and their access
You can create users and assign them individual security credential (access keys, passwords and multi -factor  authentication devices).

Manage IAM roles and their permission
IAM role is a similar to the user. It is an AWS identity with permission policies that determine what the identity can and cannot do in AWS.

Manage federated users and their permissions
You can enable identity federation to allow existing users in your enterprise to access the AWS management console to call AWS APIs and to access resources, without need to create an IAM user for each identity.

Lets start to get hands dirty!

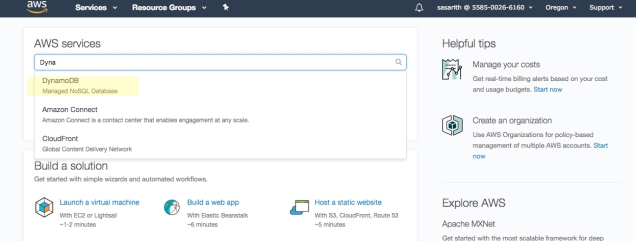
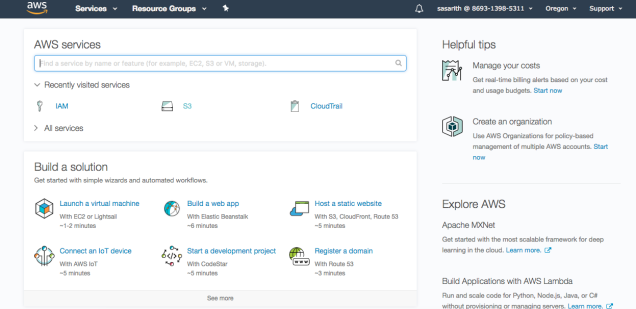
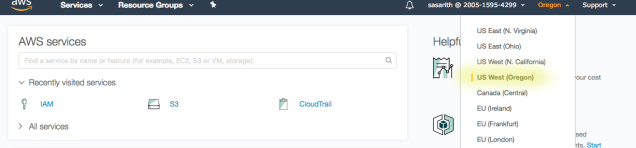
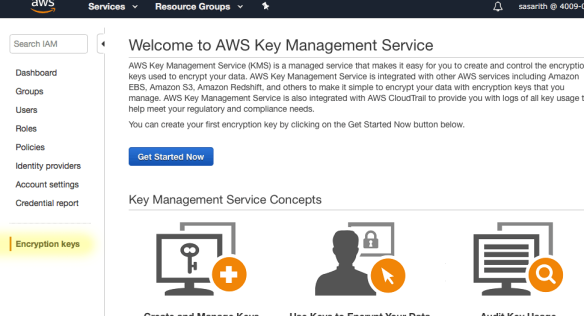
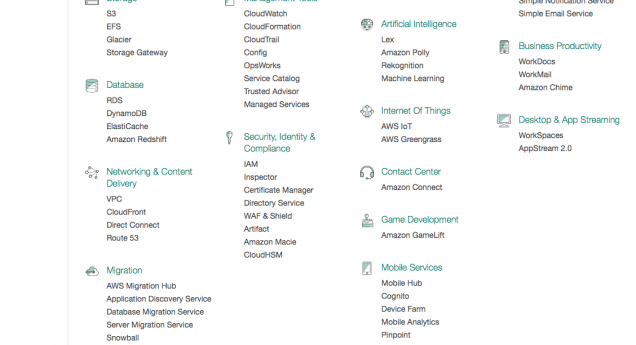
First, log into the AWS console panel using your credential. From there select IAM as shown below.

Screen Shot 2017-09-27 at 10.08.13 PM


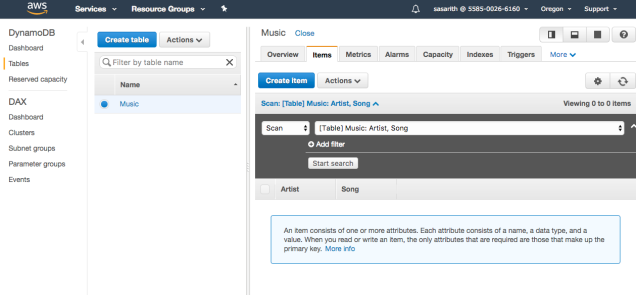
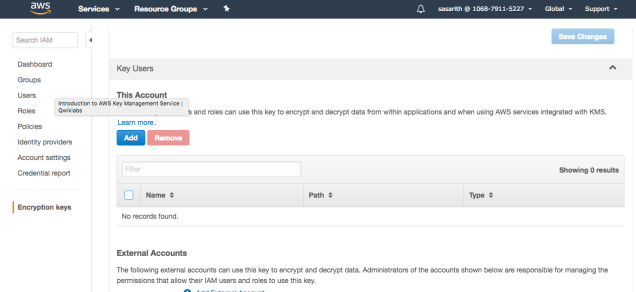
When you entered to the IAM dashboard you will get a window like this

Screen Shot 2017-09-27 at 10.09.59 PM

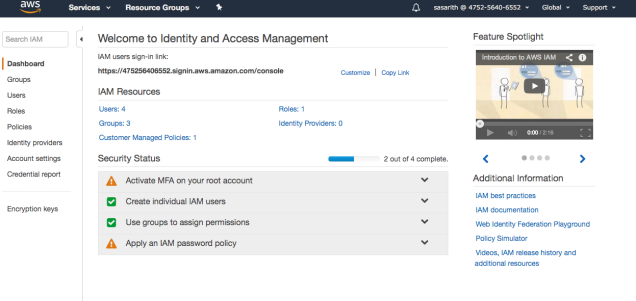
Please note, in my screenshots some of the additional things are added. You might have nothing here. Thats totally okay.

In the left pane you can see ‘Groups’ and ‘Users’. In my users section I have three users that is already created.

Screen Shot 2017-09-27 at 10.08.29 PM

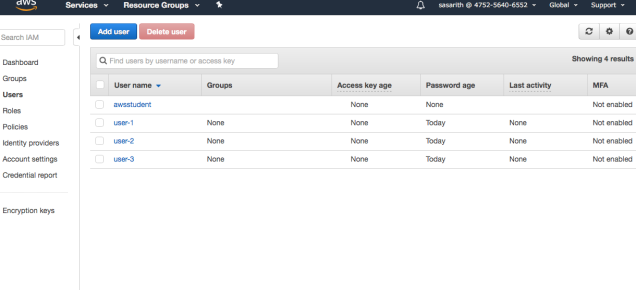
I have just created users and nothing added to users (Permissions or groups)

Screen Shot 2017-09-27 at 8.17.38 PM

Will check group section now. In the Groups I have three different groups created with three different names. I’ll explain what does these means. 
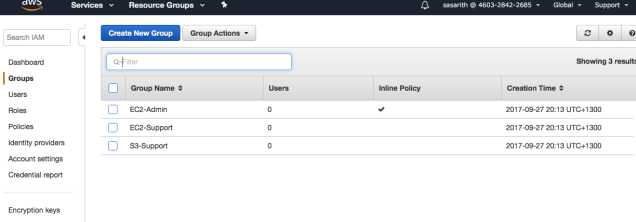
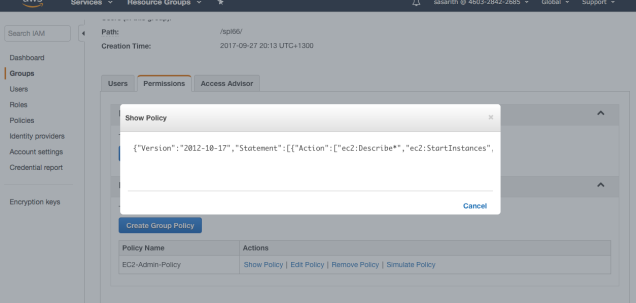
Screen Shot 2017-09-27 at 8.17.53 PM

EC2 – Admin
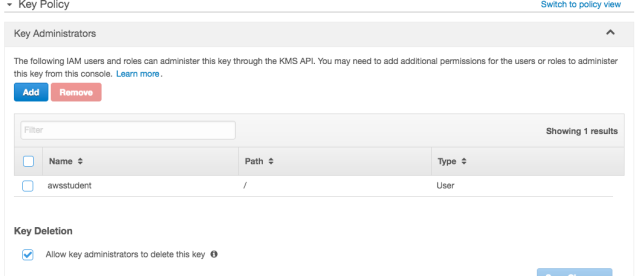
When you clicked a group, there are many options over there. In the policy actions, there is a option to view the policy. Under Action, click Show Policy. So, this is my policy. This policy is a inline policy which is assigned to one user or one group. Inline policies are used to override standard permissions for specific situations
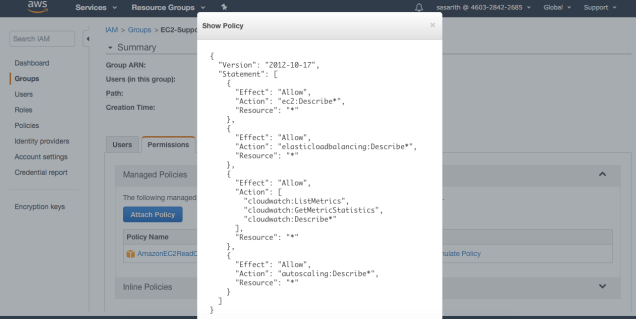
Screen Shot 2017-09-27 at 8.20.46 PM

EC2 – Support
I am going to apply the above steps other groups as well. So this is the EC2 – Support policy. What does this mean ?

Policy defines what actions are allowed and what actions are denied for specific AWS resource. This policy granting permission to list and describe information about AWS EC2, Elastic Load Balancing, CloudWatch and Auto Scaling. This is not granting permission to modify.
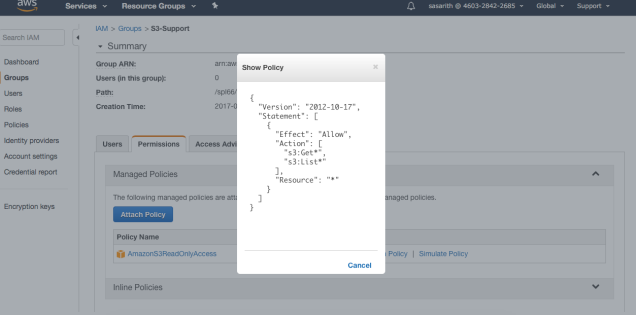
Screen Shot 2017-09-27 at 8.19.16 PM

S3 – Support
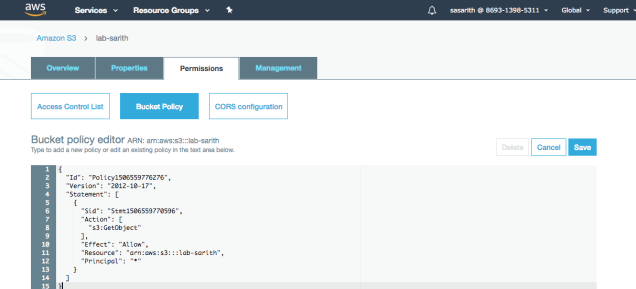
This is the the policy for the S3 – Support group. This policy giving permission to get and list resources in Amazon S3.

Screen Shot 2017-09-27 at 8.20.13 PM

Now will see how we can add these policies to users. 

We are going to add users as follows
User-1 –> S3 – Support
User-2 –> EC2 – Support
User-3 –> EC2 – Admin

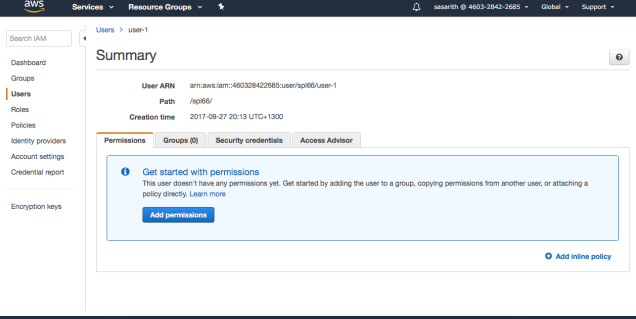
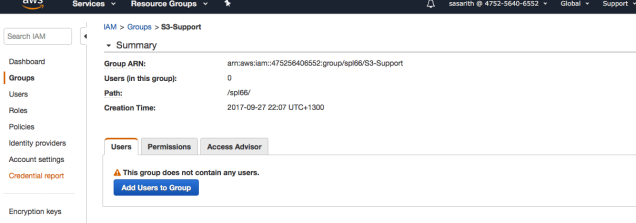
Our first step is adding User-1 to the S3 – Support group.

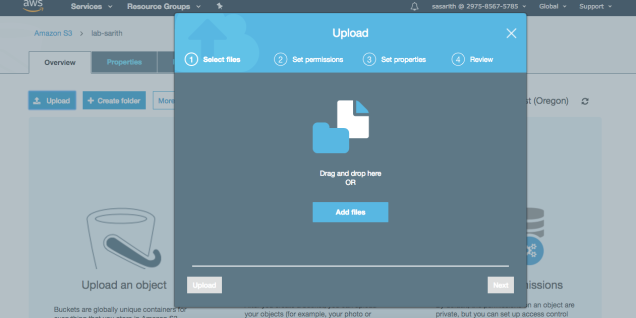
Click on the S3- Support group. According to my scenario I am getting following window. Click Add Users to Group

Screen Shot 2017-09-27 at 10.40.51 PM

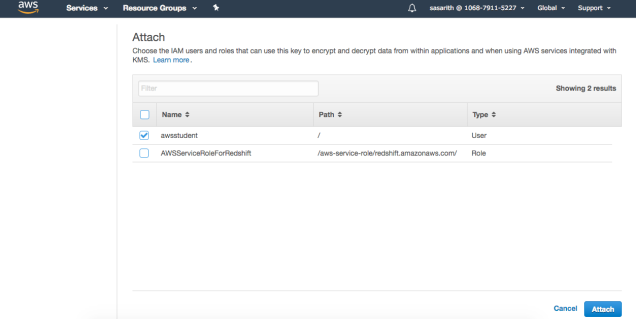
After that step you will get another step to select the user. From there select the user and click add user. 

Screen Shot 2017-09-27 at 10.43.39 PM.png

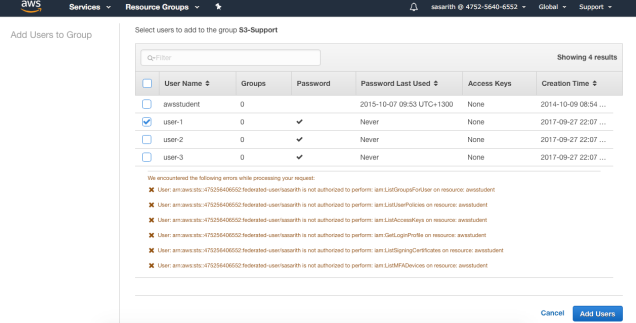
After you added the user and if it is successfully worked then it should be like this.

Screen Shot 2017-09-27 at 10.44.47 PM

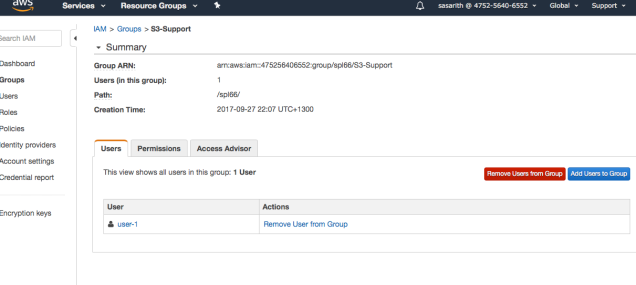
Likewise,  I have added all other two users as well to each groups and you can see now all the groups has one user.

Screen Shot 2017-09-27 at 8.31.30 PM

Now we will log on to the Amazon Console and check whether these policies are working fine. 

First will look into User-1
Using my IAM user sing-in link I am signing to the console (You can get the link on IAM dashboard) Link is something like this – https://460328422345.signin.aws.amazon.com/console

Screen Shot 2017-09-27 at 8.33.54 PM

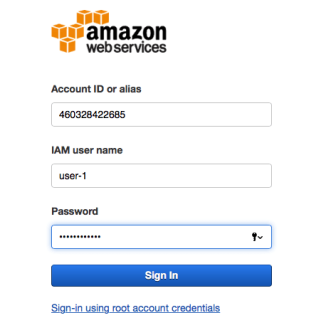
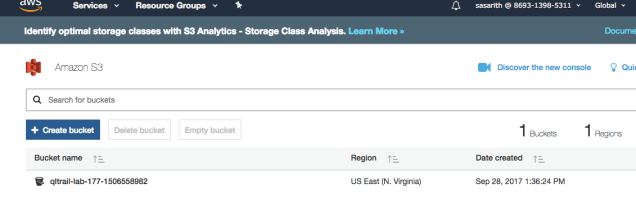
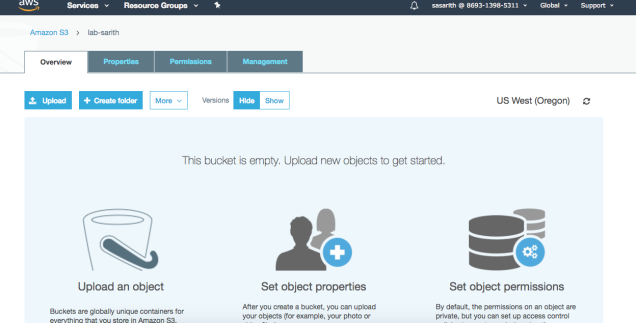
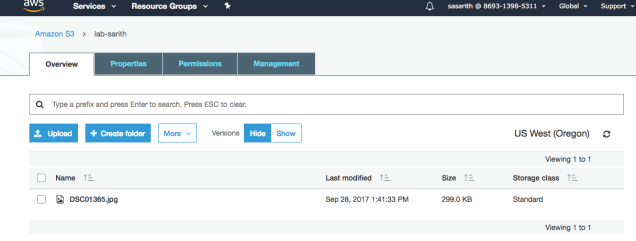
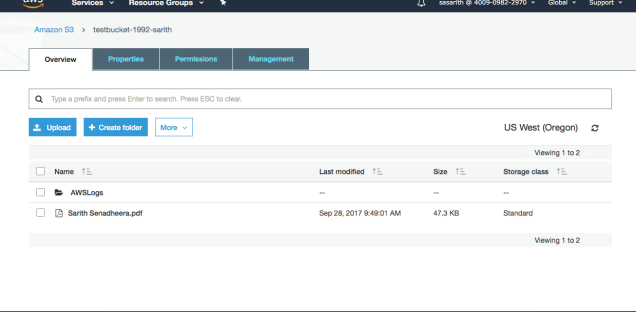
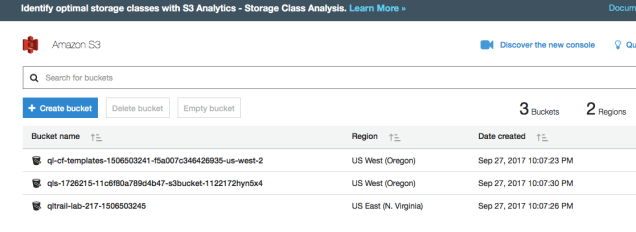
I have entered my credentials to log-in. After I signed in I clicked on S3 service from AWS services menu. Here we are ! I can see my S3 buckets. So lets whether blocked permissions are working. 

screen-shot-2017-09-27-at-10-51-57-pm.png

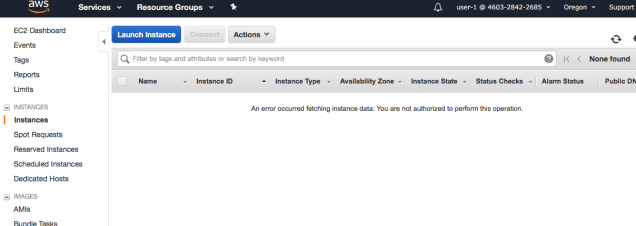
We have blocked accessing EC2 for the User-1 and will see it now. Go to the Services and Click EC2 and from the left pane click Instances. Hurray ! We are getting an error saying “An Error occurred fetching instance data. You are not authorised to perform this operation” That because we have not given permission to the user-1.

Screen Shot 2017-09-27 at 8.35.54 PM

Lets see user-2
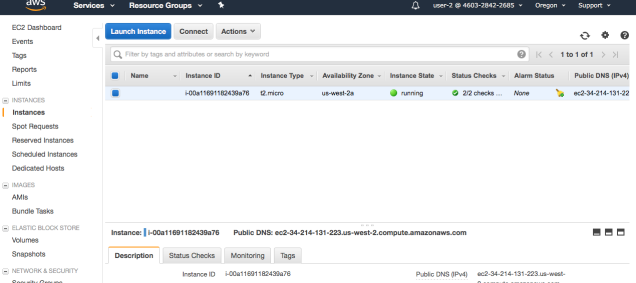
Using the link and the credentials I am logging to the AWS console and then Select the EC2 and Click Instances. Another Hurray ! Its working. User-1 cannot see it but user-2 can. 

Screen Shot 2017-09-27 at 8.37.00 PM

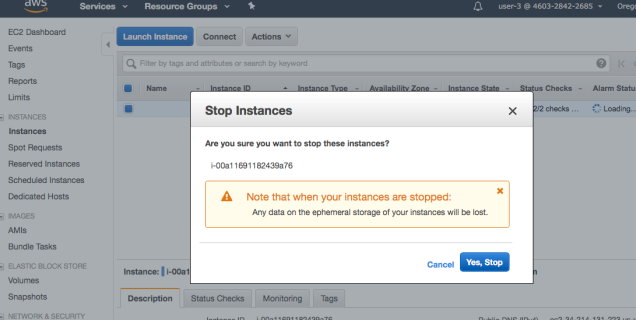
Now click on Actions and will stop the instances and see whether we can perform that operation.
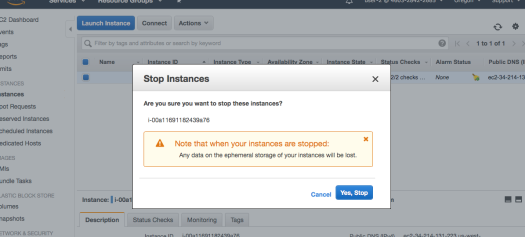
Screen Shot 2017-09-27 at 8.37.46 PM
Click Yes,Stop

Screen Shot 2017-09-27 at 8.38.04 PM
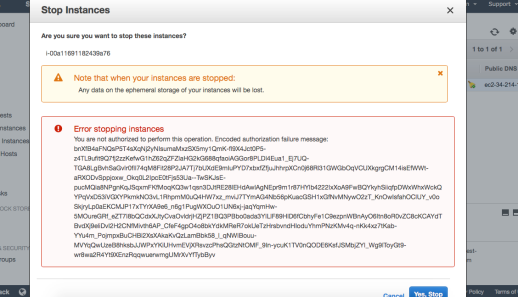
So we are getting the above error after clicked Yes,Stop that because we don’t have admin access to the user-2 but we do have for user-3.
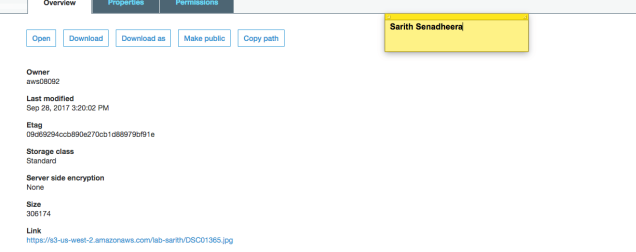
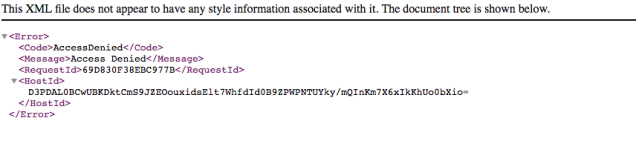
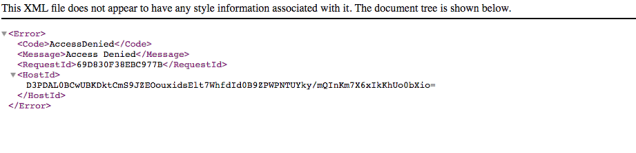
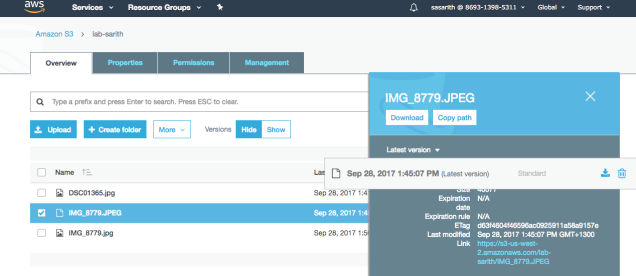
And I will show what we will see when we try to access S3 service. Go to the S3 service from Service menu.

screen-shot-2017-09-27-at-8-38-33-pm.png
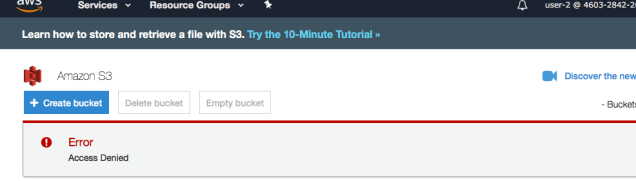
Yes, Its not allowing to access the S3 service because no permissions. 

Lets checkout User-3

User-3
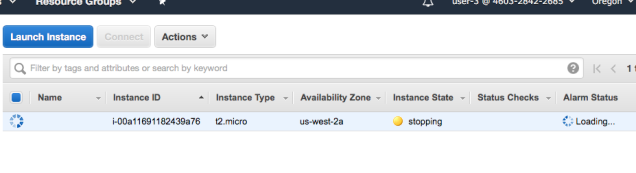
Like earlier times, follow the same steps and log into the AWS console. Then click on Service –> EC2 –> Instances.
After that Click
Actions –> Instance State –> Stop 

Screen Shot 2017-09-27 at 8.40.09 PM

Click Yes, Please to perform the action. Yes !! Its working. Now you can see without any error message its started to stopping. 

Screen Shot 2017-09-27 at 8.40.30 PM

Cheers ! You have completed Introduction of Amazon IAM. Thank you for reading this and my next blog post will be Introduction to AWS key Management.

Drop me an email if you need any clarification about anything. You can find my details in About page

Stay Tuned !