Lab 6: Creating and Using AMIs
In the Lab 6 I am going to create AMI images from my EC2 instances and using that image.
Lets see how we can do it.
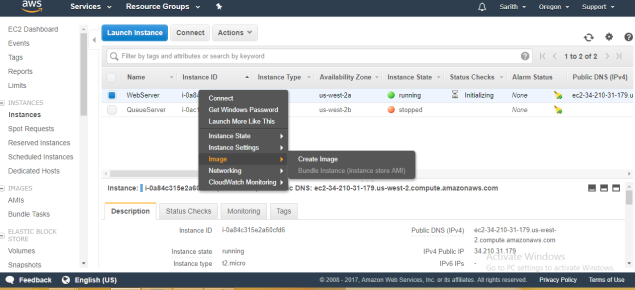
Go to the EC2 instances and first right click on the Webserver and click image —> create image
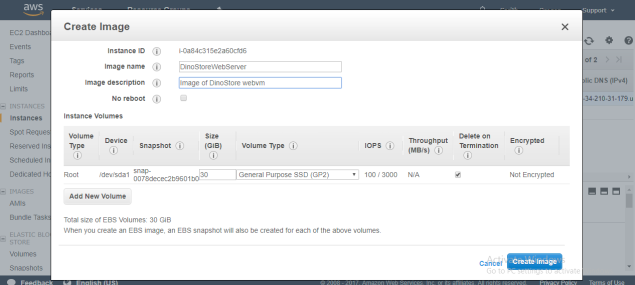
Create Image window will pop-up.
Image name – DinoStoreWebServer
Description – Image of DinoStore WebVM
Create Image
Right click on the Queue Server as well and select Image –> Create Image
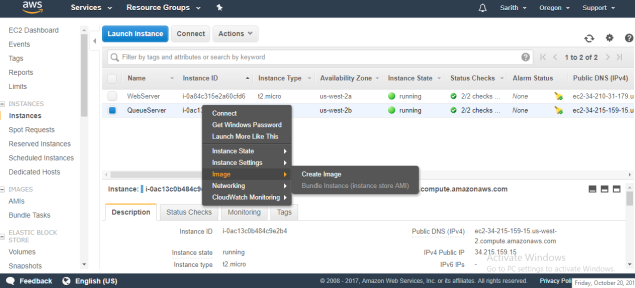
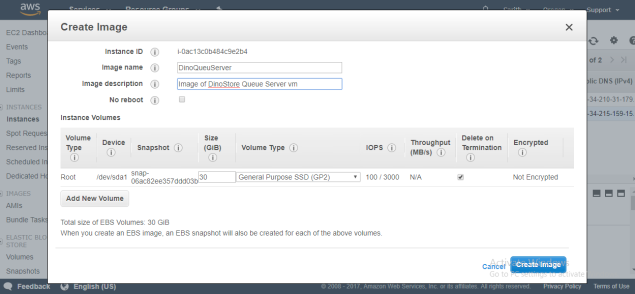
Image name: DinoQueueServer
Image Description: Image of DinoStore Queue Server VM
Create Image
Under the AMIs I can see my two images are getting created.
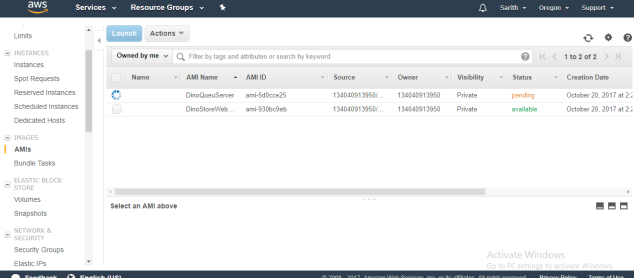
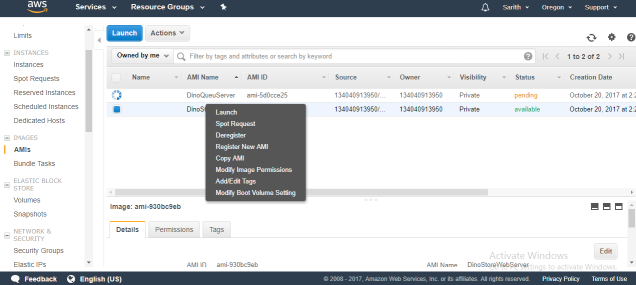
Once my WebServer image is done Im going to launch it.
Right click on it and click Launch
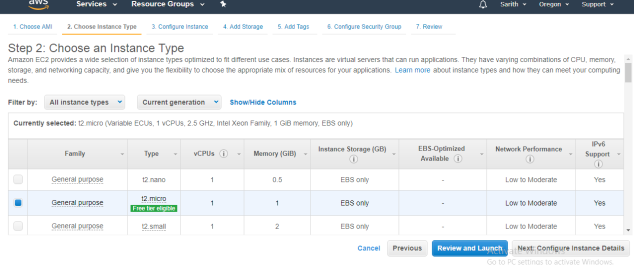
Select the t2.micro (free tire one) for the image
Click Next
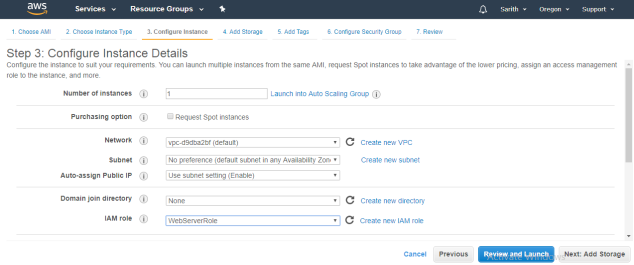
Select IAM role as “WebServerRole”
Click Next
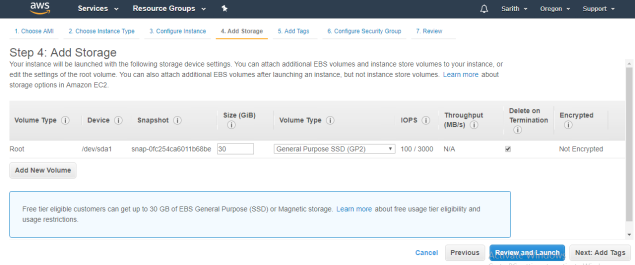
Keep the default storage and click Next
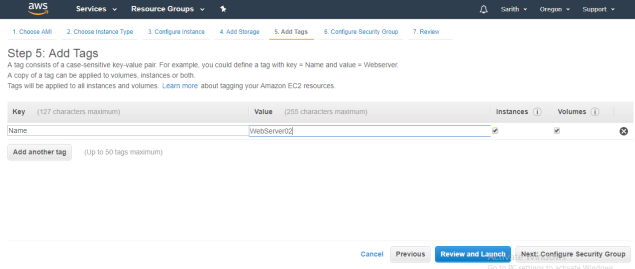
I am adding a tag as the name to identify easily later on.
Name – WebServer02
Click Next
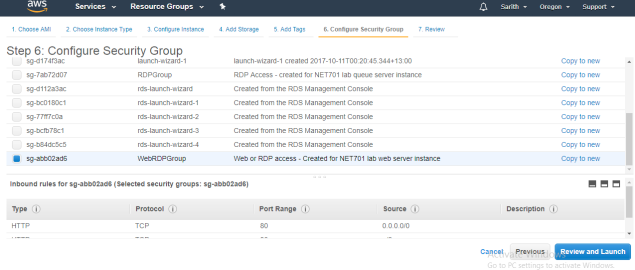
In the security group configuration step, Click select existing security group
Select WebRDPGroup
Click Review and Launch
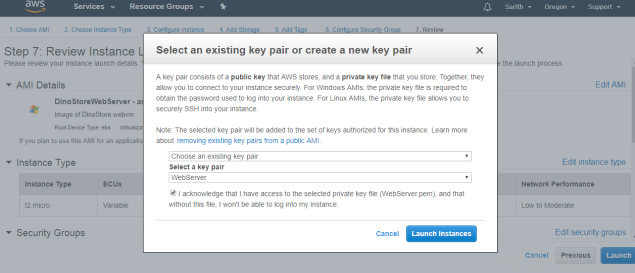
For the key pair I am going to use already created key pair.
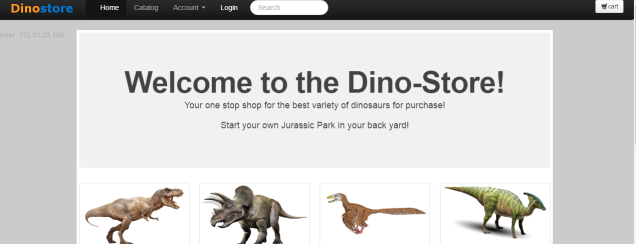
Im going to run my website using the main EC2 web server instance. When I launched the website I can see IP address on the left hand side of the page that is – 172.31.23.185
Now, I am going to run my website using the AMI image.
In this my left hand side IP is different. Its 172.31.26.185
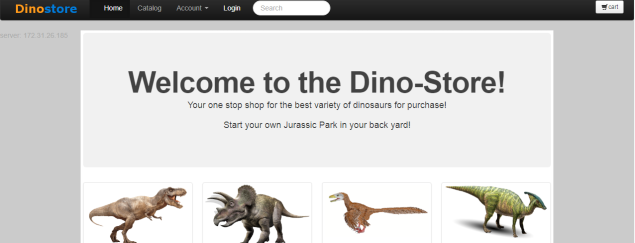
Thats mean image is working now as a seperate server for the web application.
This is the end of the Lab 6
