Lab 11 Managing VMware vSphere VMFS
PLEASE NOTE : We are facing a technical issue in our virtual environments at the College. Therefore I am going to describe the labs now onwards without showing any steps or screenshots. When possible I will add images and steps.
Objectives for the lab is,
- Change the Name of a VMFS Datastore
- Review the Shared Storage Configuration
- Create a VMFS Datastore
- Expand a VMFS Datastore to Consume Unused Space on a LUN
- Remove a VMFS Datastore
- Extend a VMFS Datastore
Log into the vCentre and from the Dashboard click Datastores and check the datastores in the vCentreServer.
Choose the local datastore that is using for the ESXi host and rename it.
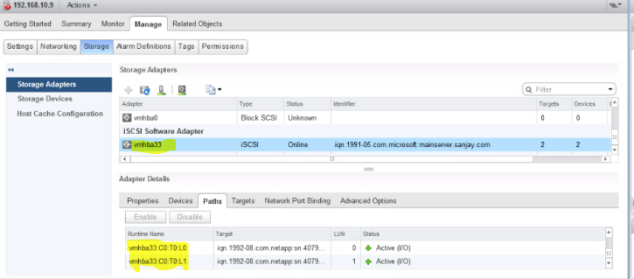
Click on the ESXi and click manage and storage.
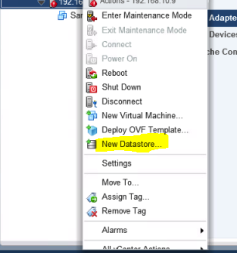
Add VMFS database to ESXi host. Select the ESXi host and click New Datastore.
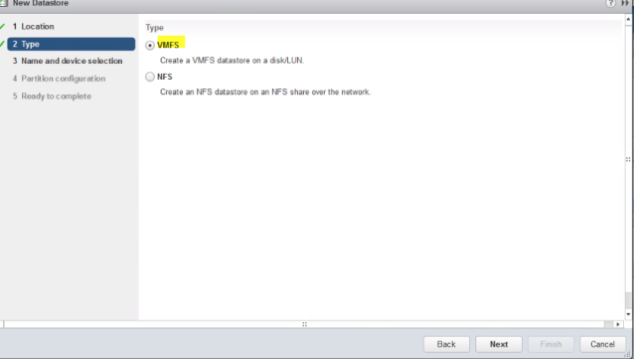
In the New Datastore wizard select VMFS and click Next.
Go forward and add the LUNs name.
Select the iSCSI path from the wizard click next.

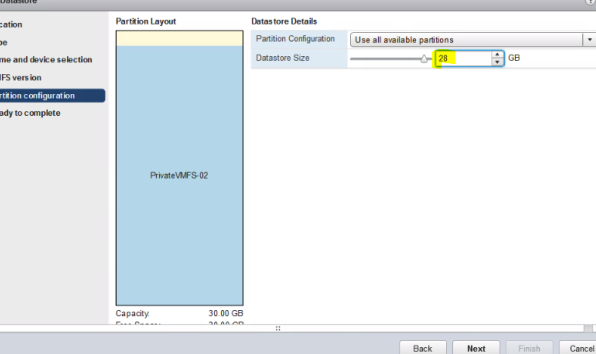
Set the partition size.
After creating the VMFS you can check its status by going to Databases.
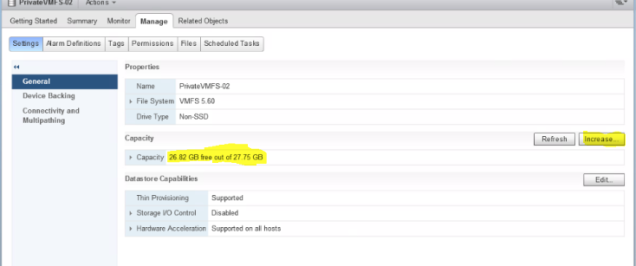
Select the VMF to check the capacity of it.

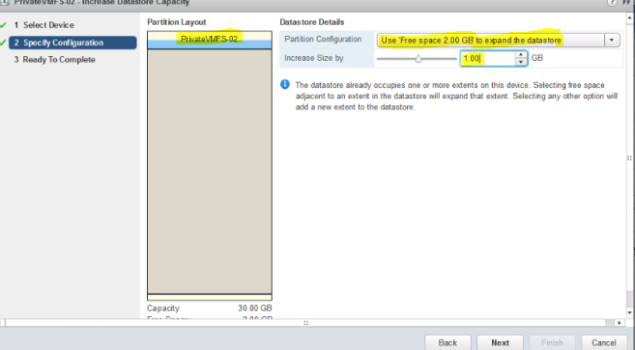
We can increase the size of the VMFS. In the Capacity section select “Increase option to change size of the VMFS.
End of the post
Thank you
