Lab 01 – Installing VMware vSphere GUIs
In this post I am going to show you how to install the VMware vSphere Client and log into it.
Note:
Before you run the installation, make sure to install .NET 3.5 framework to your computer. Otherwise installation will not continue.
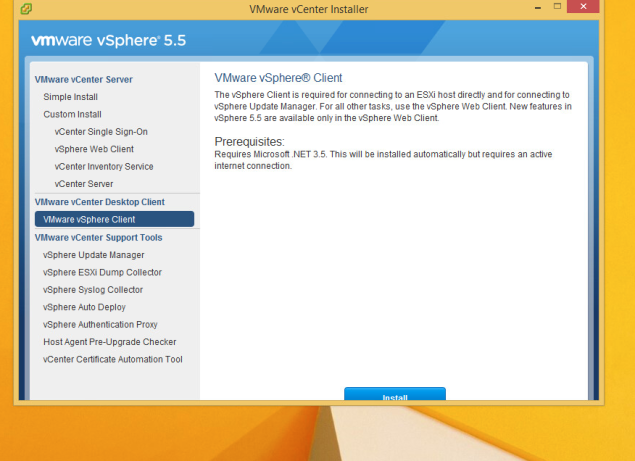
Double the click VMware installation CD-Rom and it will run the autoplay pop-up window.
Select VMware vSphere Client from the window and click install.
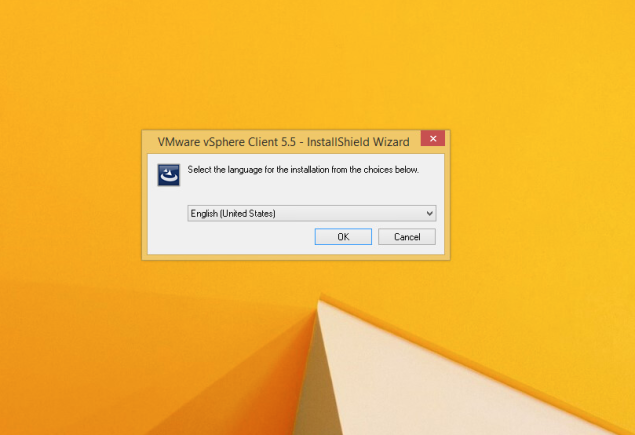
When the installation wizard is started click the language and click OK.
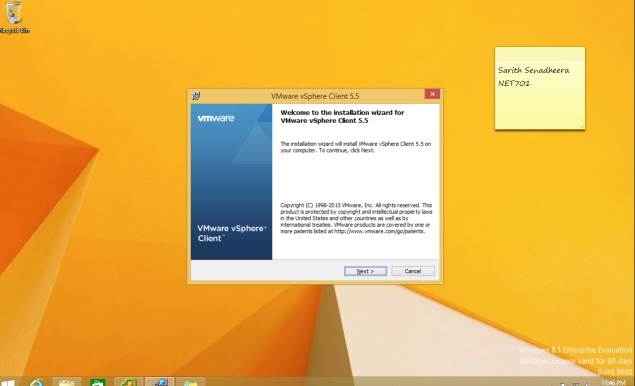
Click Next
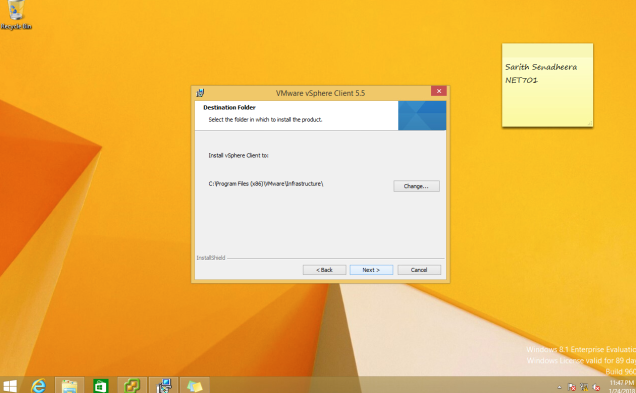
Keep the installation path as the default path.
Click Install.
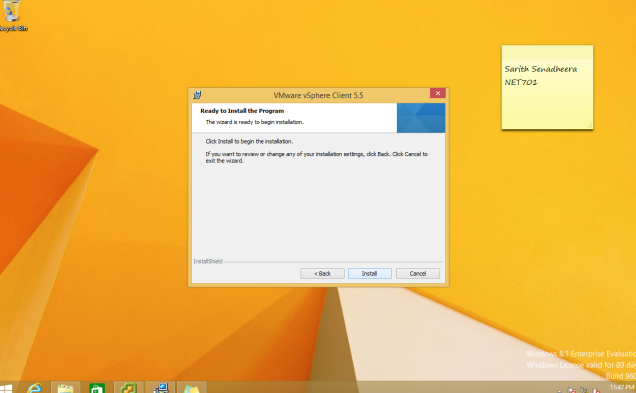
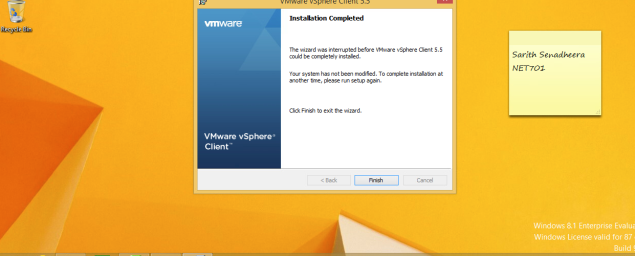
It will take few seconds to get installed. After that click Finish.
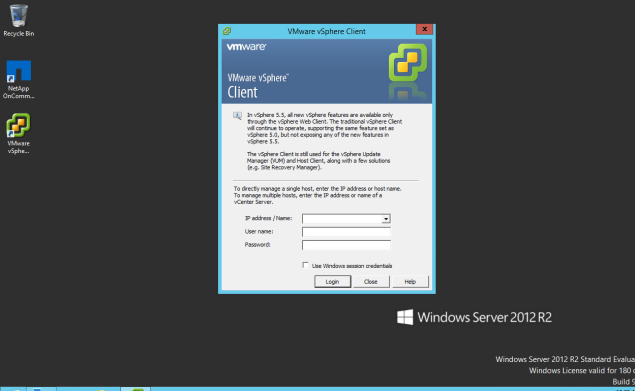
When its installed Double click the desktop icon and run the program.
Use the IP address or the host name of the ESXi and use the user name and password you assigned.
Click Login
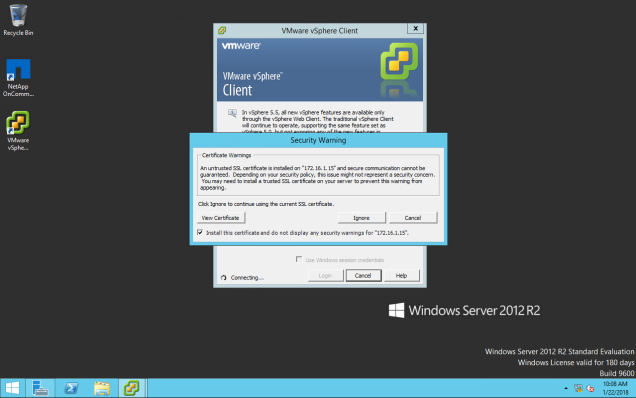
It will prompt a security warning when run at first time.
Tick the options called ” Select install this certificate and do not display Security Warning for a host”
Click Ignore.
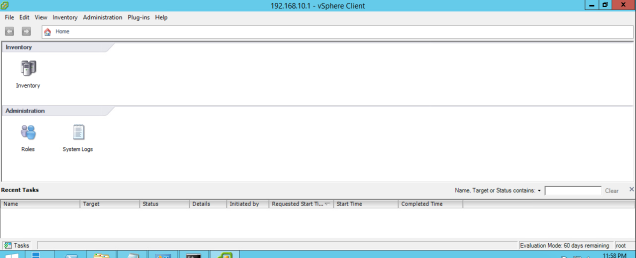
It will directly then send you to the vSphere Client dashboard.
Note: Make sure that you have the successful connectivity between your PC and the ESXi before you log into the Vclient.
End of the post.
