Lab 10: Configuring DNS with Route 53
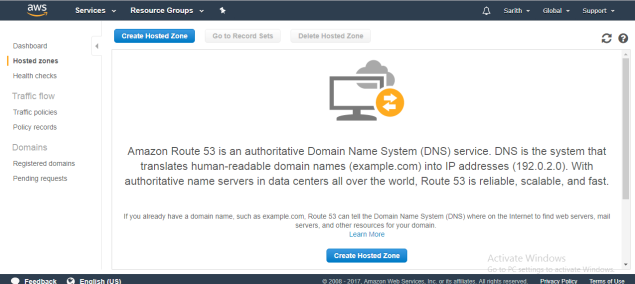
In the Lab 10, Using Route 53, we are going to register a domain and connect to our DNS to run the web application.
Go to Route 53 dashboard, Click Get started now

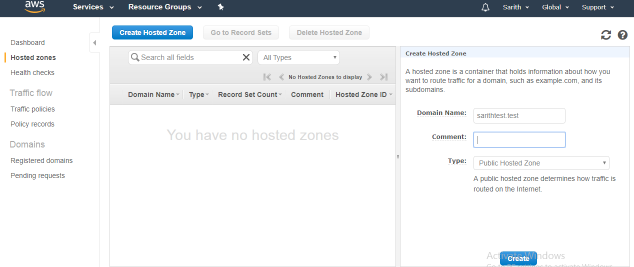
Click Create Hosted Zone
Type your domain name
Type: Public Hosted Zone
Click Create
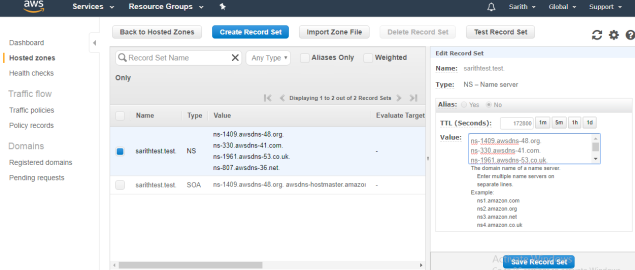
When you created the domain you can have the name servers.
In here I don’t have any registered domain for myself. So when I have the domain name I have to go to my domain management panel and add these Name servers to there.
Click Create Record Set.
Type: A- IPv4 Address
Alias Target – Select the Load balancer from the list
Routing Policy: Simple
Click Create
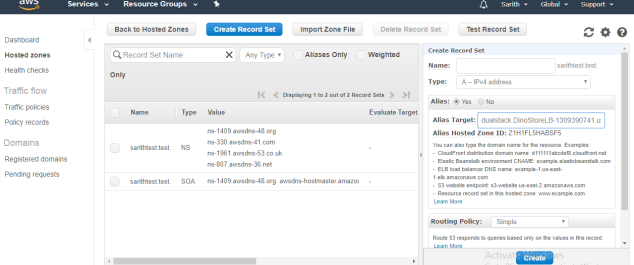
If I have a domain and if I added the NS records to my Domain then I can launch my website using my own Domain. But here at the moment I don’t have one.
Pay Attention: When you are adding NS records pay attention to the dot end of the each NS record
This is the end of the Lab 10.
