MODULE 4: GETTING STARTED WITH BASIC NETWORK ADMINISTRATION
In this post I am going to show how to configure Network File System (NFS) and the Common internet file system (CIFS).
First of all we have to enter licenses for the NFS and CIFS features in the NetApp OnCommand manager. In here I have added some several other features as well.

Next step to export the storage. To do that go to storages then to exports.
Click Create
After new window popup click browse to browse the path and select vol0.
Click Create.
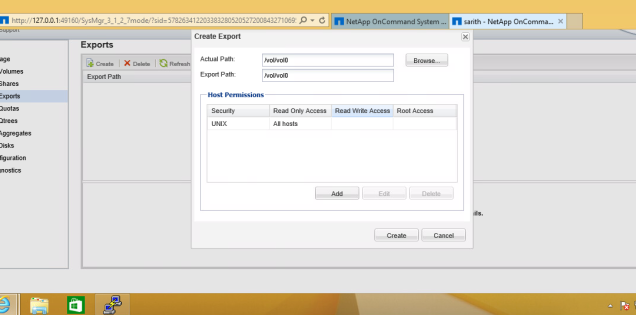
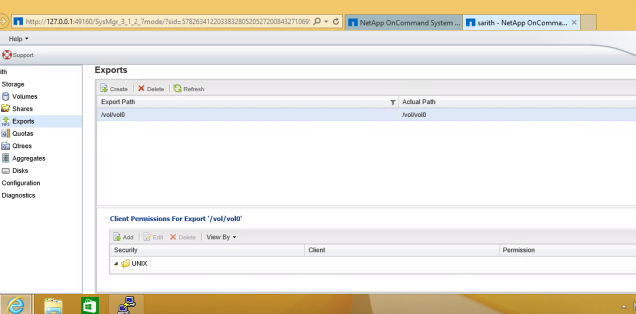
Volume is exported.
At the same time we can export the volume using the CLI as well. To do that,
Log into the NetApp simulator as the root and using the password.
To create the volume
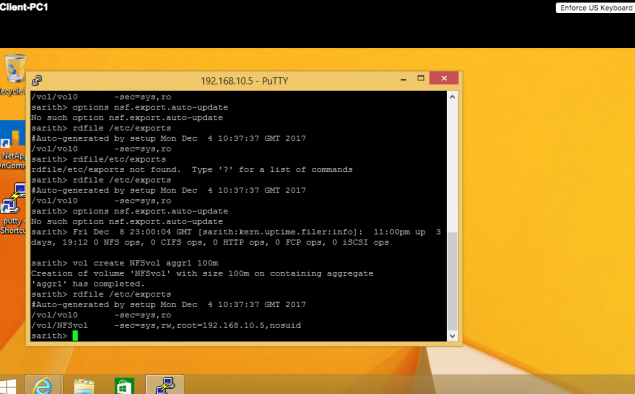
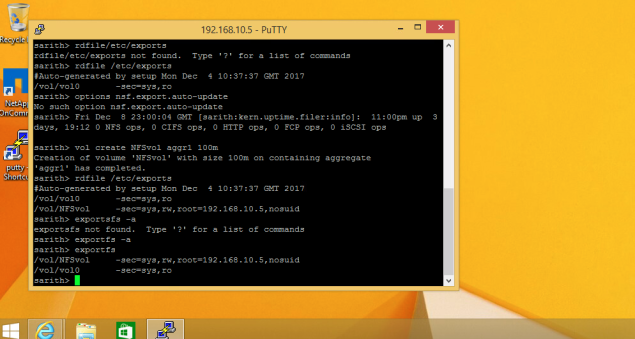
> vol create NFSvol aggr1 100m
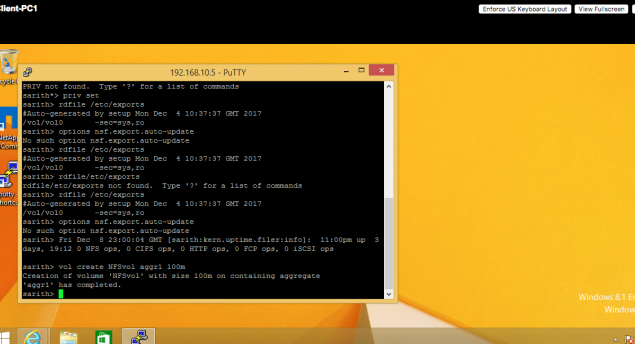
Verify the contains of the export file by typing the
> rdfile/ etc /exports
To display the current list of defined exports in the volume
> exportfs -a
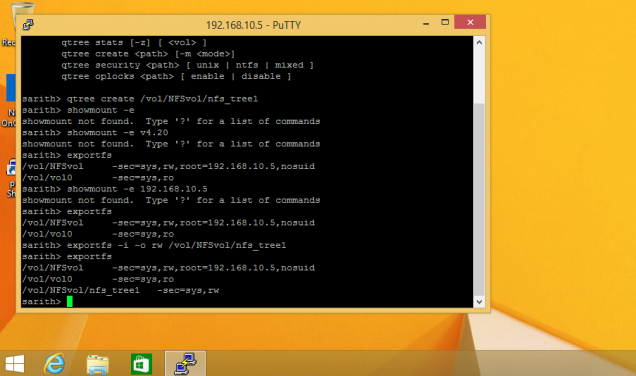
To verify the client can see the volume that I exported before.
> shouwmount -e <storage IP address>
Creating a domain user in Windows Server.
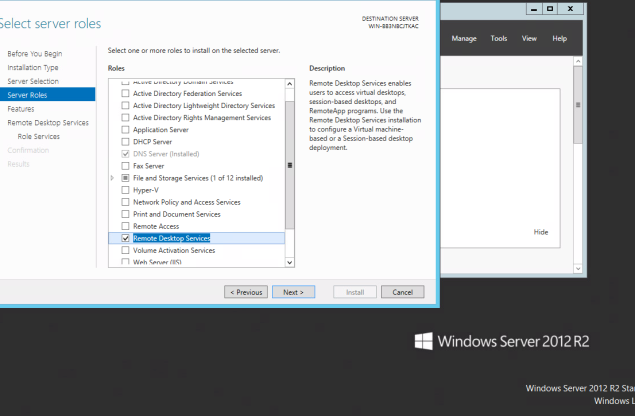
In the server manager go to add roles and features to install, Administrative tools and IIS.
Click Next
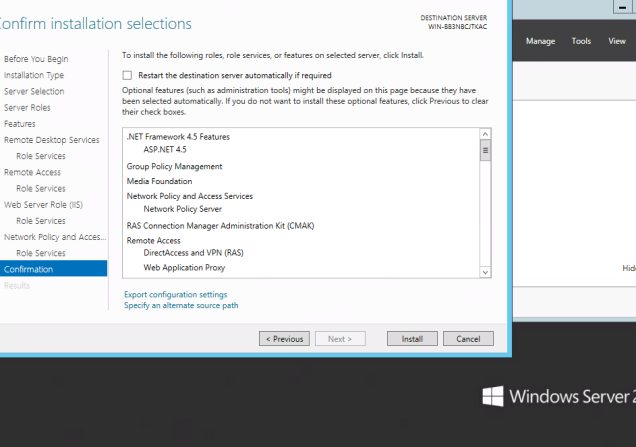
Click Next
It will complete installing the selected features.
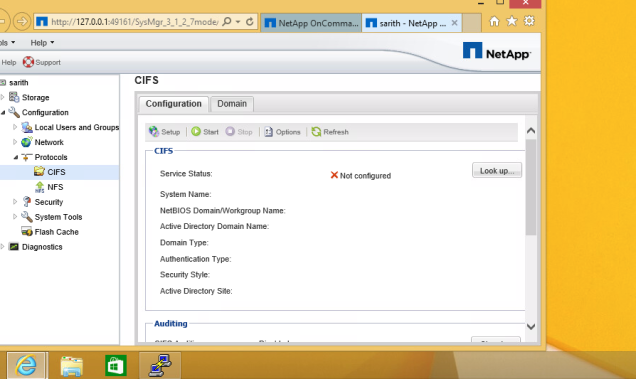
Go to NetApp command manager. In the configurations select CIFS and click Start.
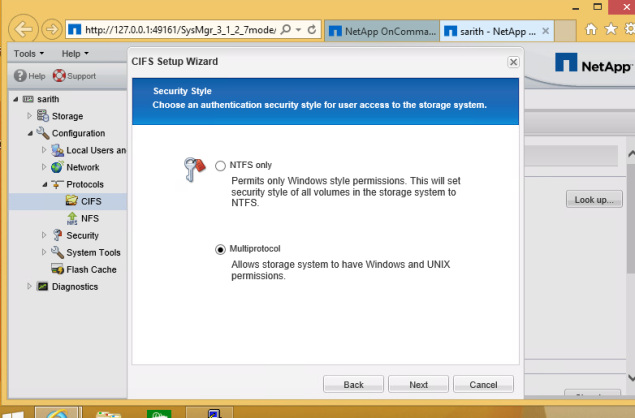
From the CIFS setup wizard Select Multiprotocol.
Click next
In the windows authentication options select Active directory. Because we are going to create a user that in the AD.

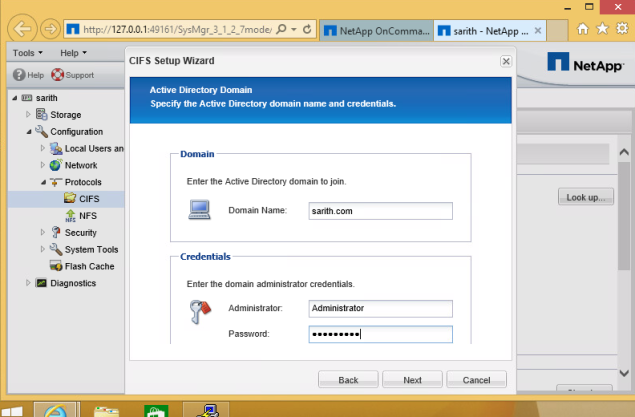
In the Active directory options fill out options with your details. Such as,
Domain Name
Administrator
Password
Click Next
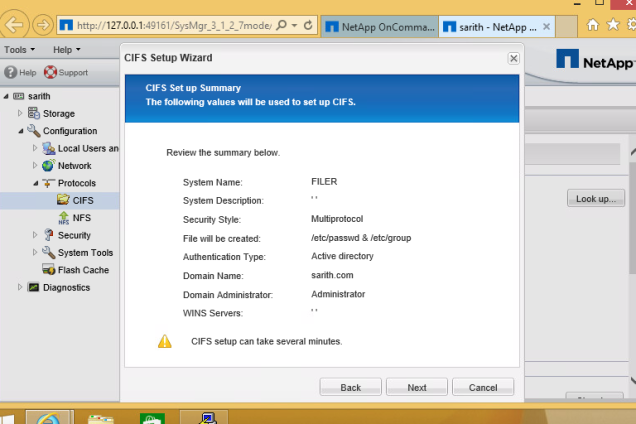
Check the summary and click next to finish
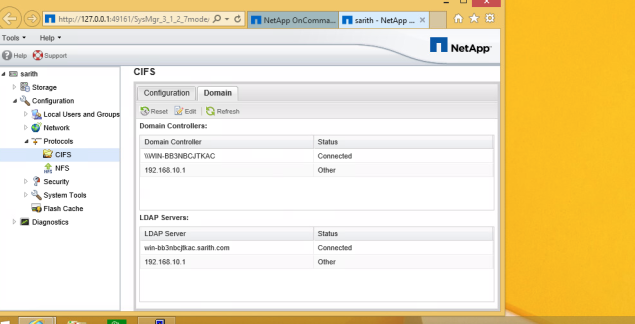
After you created the CIFS check the status is available.

In the same CIFS window go to domain tab and check whether its connected to the domain and IP is correct.
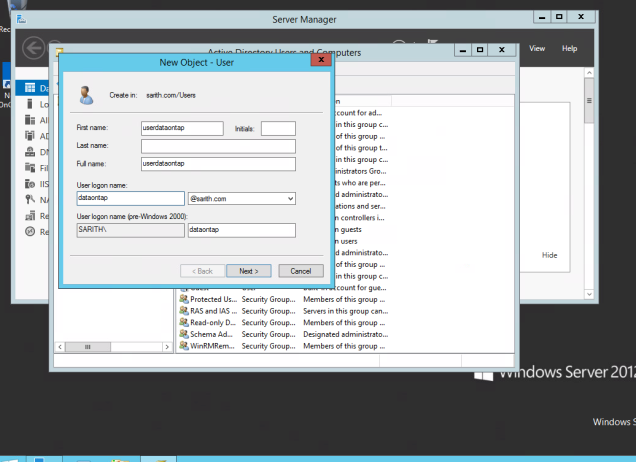
Go to the Windows Server and create a user with administrative rights.
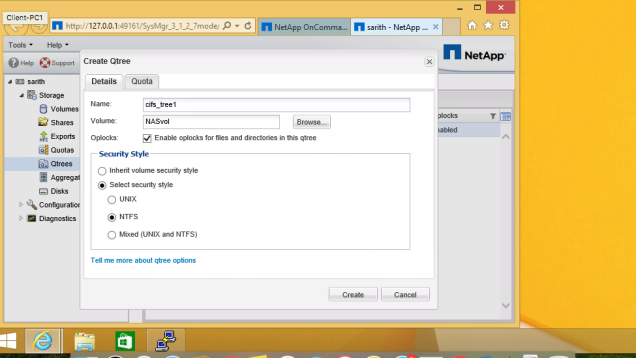
Next step is to create the Qtree. Go to the storage and select the Qtree and click create.
Name: cifs_qtree1
Volume: Browse and select the NASvol
From the security style select NTFS.
Click Create
In the server go to administrative tools and then go to computer management. From the menu click
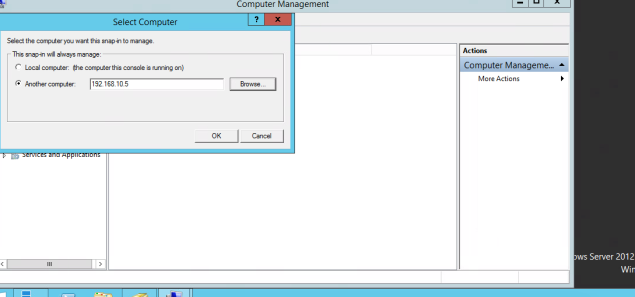
After adding the computer, we have to create a shared folder. To do that,
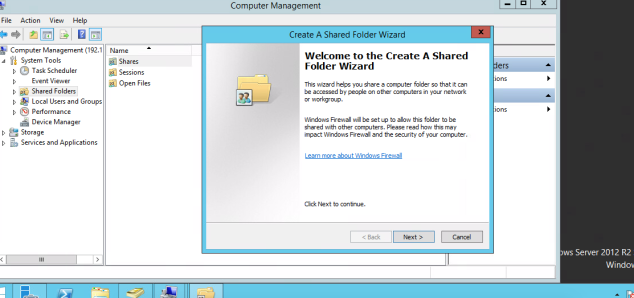
Go to the computer management and then shared folders. In the shared folders right click the shares folder and click Create New.
Click Next
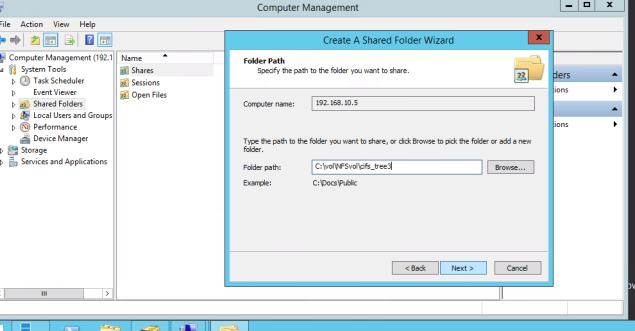
Give the path as,
C:\vol\NASvol\cifs_tree3
Click Next
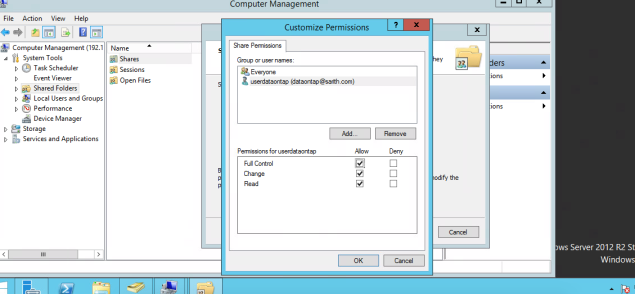
In the permissions, Allow full control and click Ok.
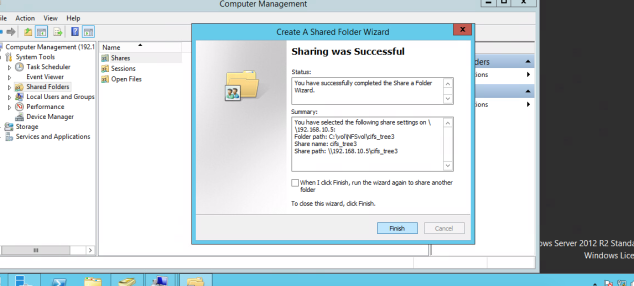
After reviewing all the settings click Finish
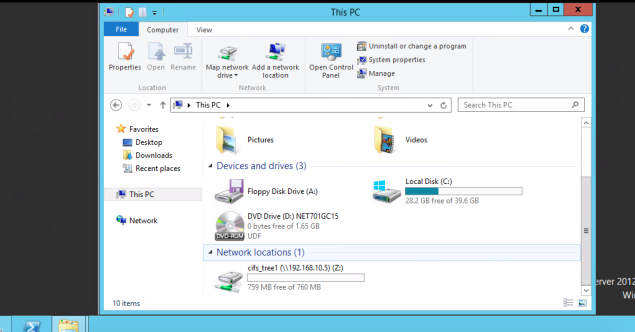
Go to my computer (This PC) and check the storage is mounted there.
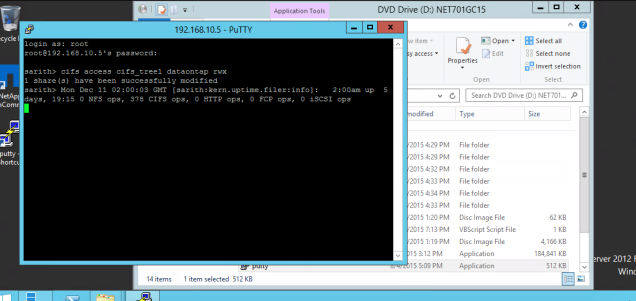
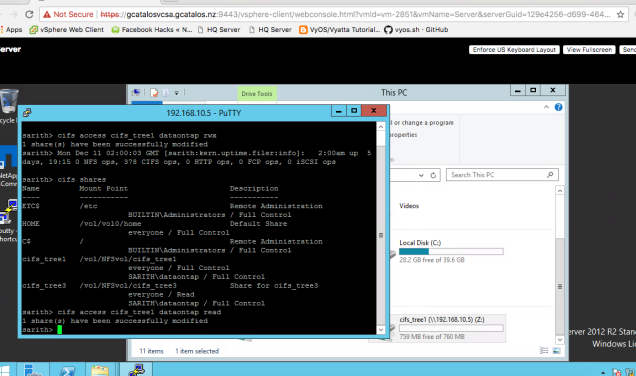
Node1 > cifs access cifs_tree1 UserX rwx
By typing this command on the tap I am giving the permission to access the cifs_tree1.
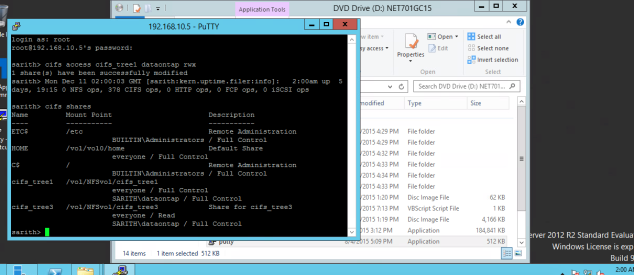
To verify that share you can use the command,
> cifs shares
End of the post.
