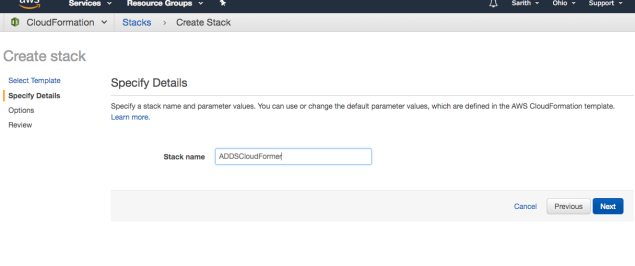
In the previous blog I have explained how to create a stack using quick launch wizard and manually by editing the code as well. Using that stack we are going to create the AWS CloudFormer.
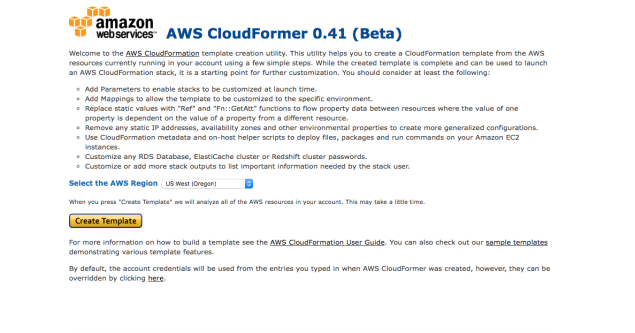
To get access to the CloudFormer for that stack we have to use the stack url. Copy the stack URL and paste it on your browser then it will give you the AWS CloudFormer wizard as follow.
Now we will see how to proceed with the CloudFormer wizard.
Click the relevant region you want to proceed and click Create Template.
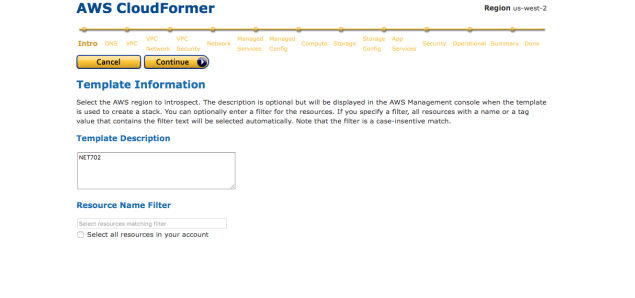
Give a template description so you can identify it easily later on when you are working on it manually.
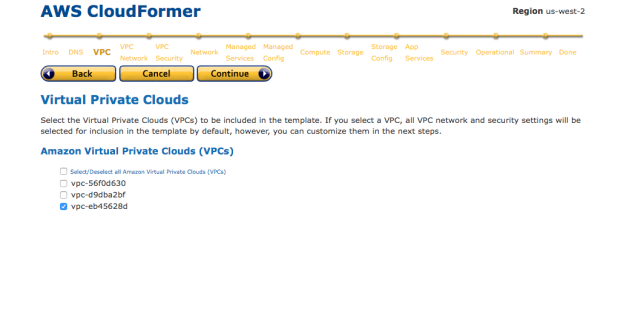
VPC – In here we have to select the Virtual Private Cloud that is going to be included in the template.
I have selected my VPC according to my settings.
Click Next
VPC Network – Select the VPC network configurations, Subnets and igw (Internet gateway)
* You can get all the details in your selected VPC.
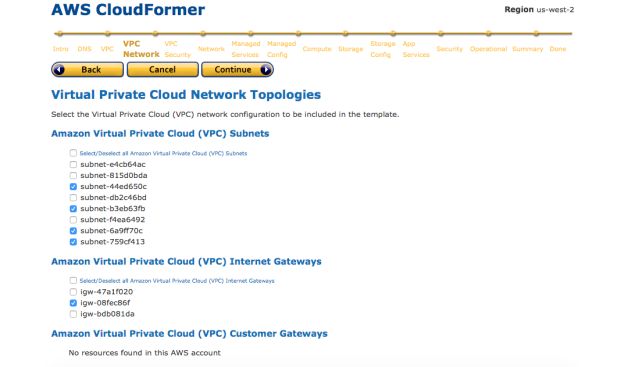
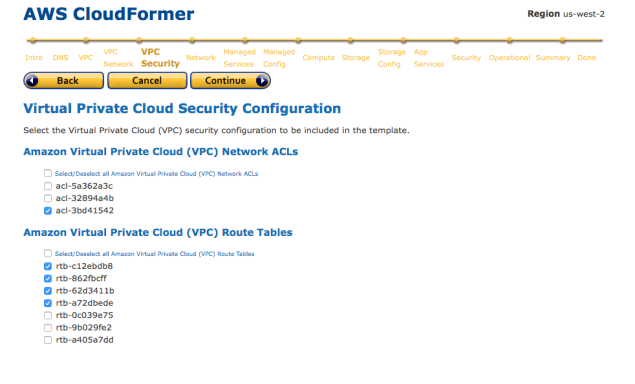
VPC security will be selected automatically when you selected VPC network.
Click Next
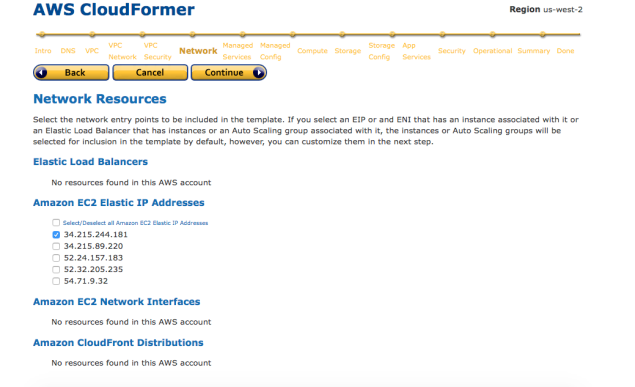
Select the IP address that is associated with the stack instances. Select the relevant
Click Next
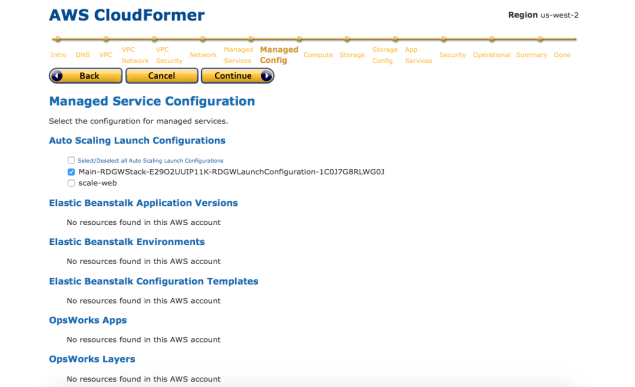
In here you have to select the Auto scaling group for the Stack we created earlier. In my scenario I don’t have to go to scaling groups to check it because it is visible here with my stack name.
If you have many auto scaling groups make sure to check the group from Auto scaling groups before you proceed further.
Click Next

Click the default settings as it is identifying your settings when you selected the auto scaling group in previous step.
Click Next
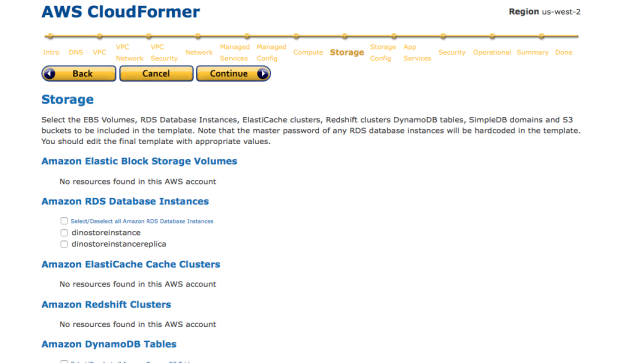
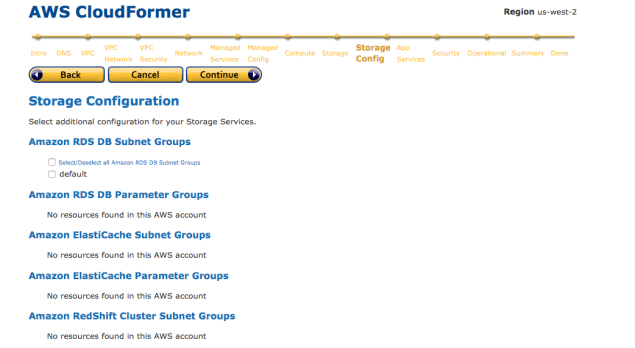
Storage step, No need to select the storage. Leave it as it is.
Click Next
Keep it without selecting any because in this scenario we don’t have any RDS.
We don’t use any apps either so leave it and Click Next

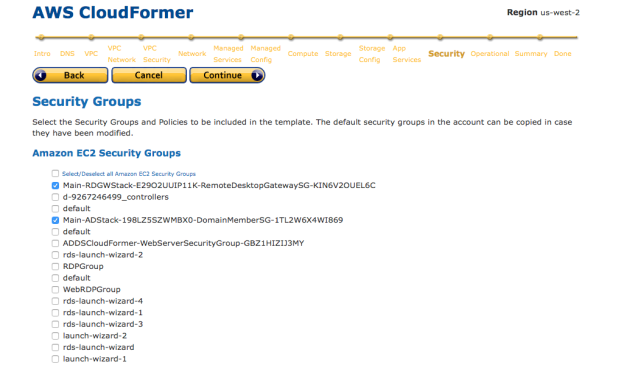
Select the relevant security groups for the created stack and select Next.
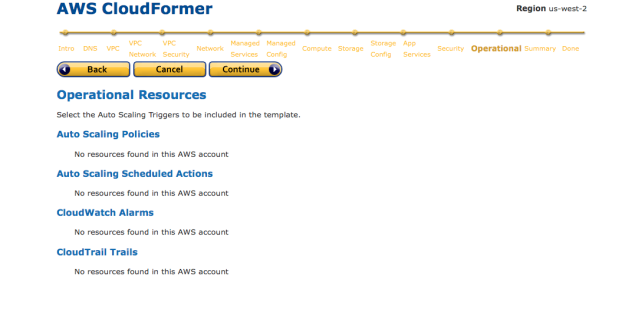
We don’t use any operational resources for this scenario, so we don’t have any here.
Click Next
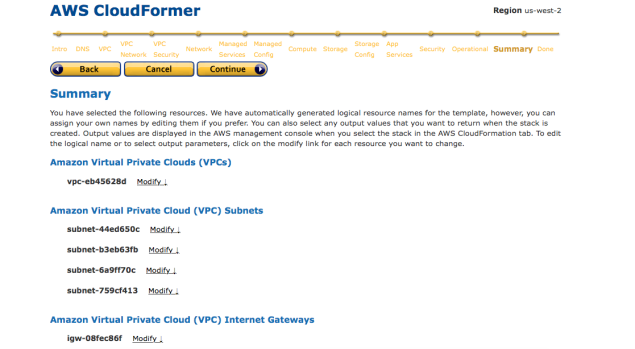
Summary will give you all the setting details that you have selected.
I recommend you to go through all the settings and check again in the summary before you go ahead.
If all okay click Next.
When you are done creating the CloudFormer you can save the template file to S3 or to your local computer. What I suggest is save the template to the S3.
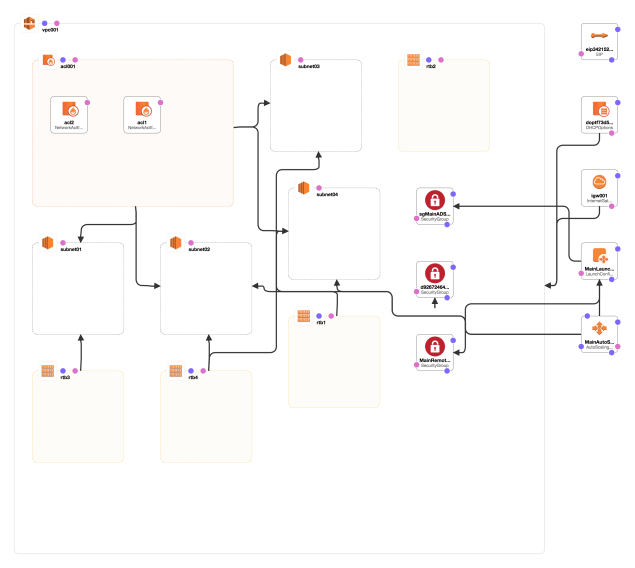
Below image shows the graphical architecture for the created CloudFormer.
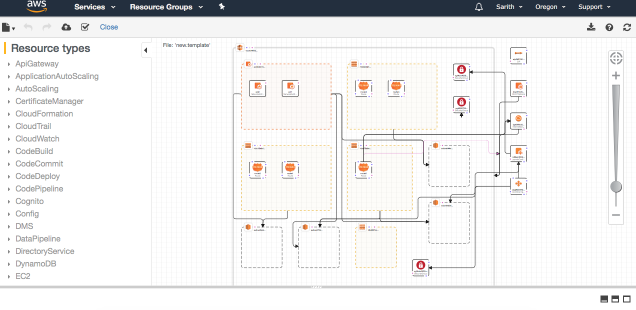
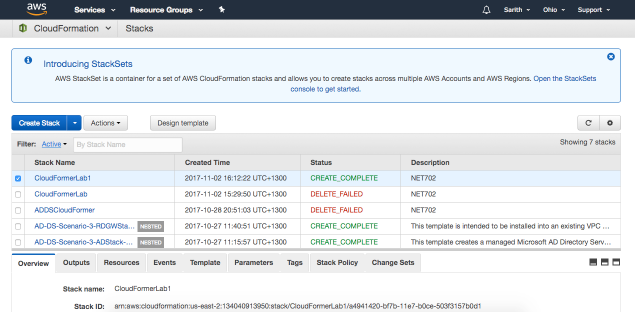
Now you can see my CloudFormer template is created successfully.

After creating the template using the CloudFormer wizard I am going to use the template and edit it manually to create a another stack in different region. Lets see how to do it.
Manually deploying ADDS in different region
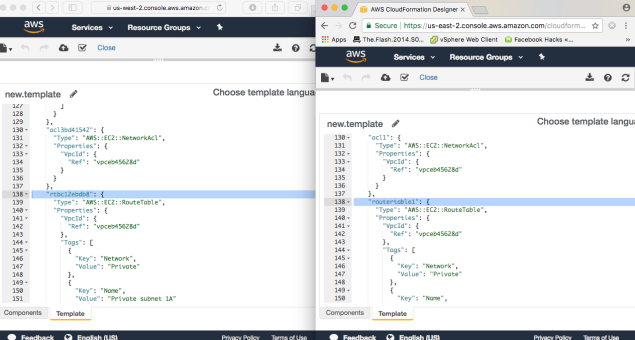
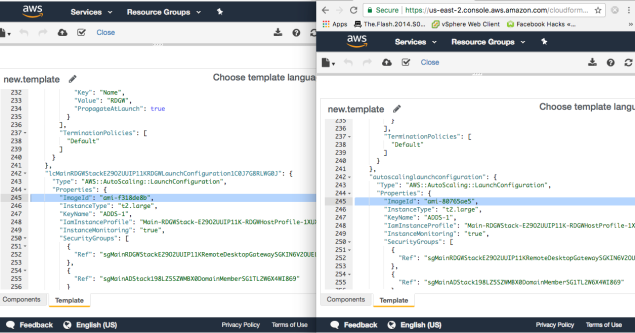
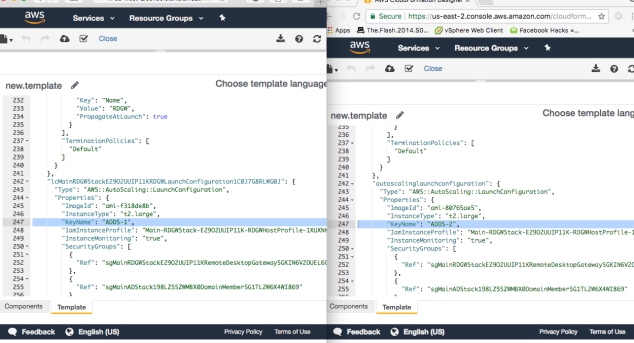
I am going to edit the original template as I like and deploying it another region. For my use I am splitting my screen as original template to left side and editing template to the to right.
Note: When editing make sure to edit the whole code what ever you are editing.
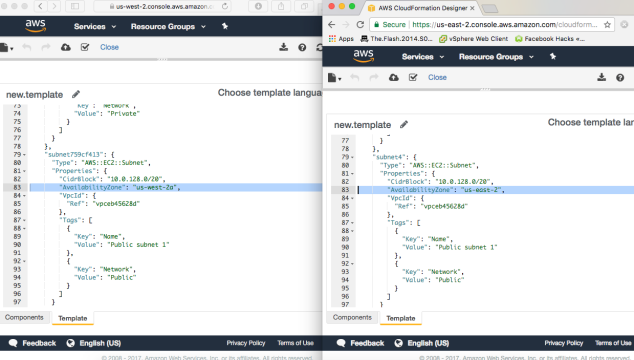
I am going to edit the subnet here. I rename it as subnet1
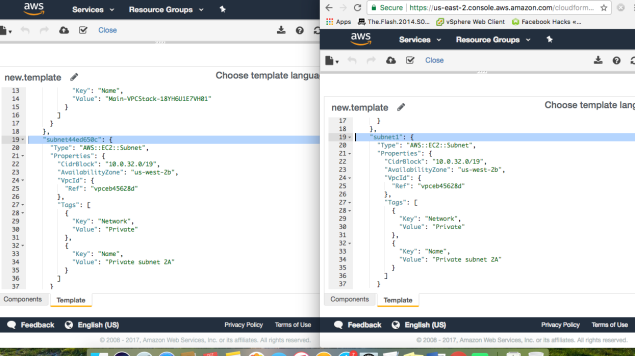
Next important thing is the region because I am gonna deploy this in a different region. So edit the region according to your requirement.
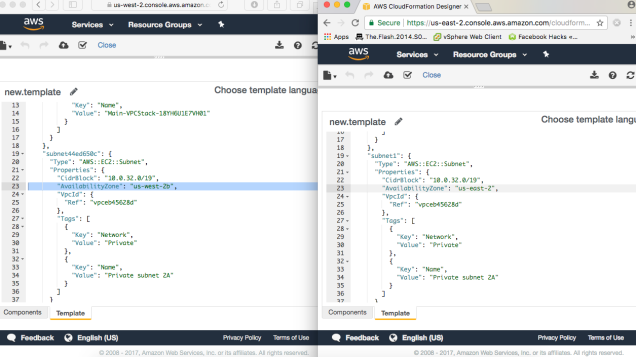
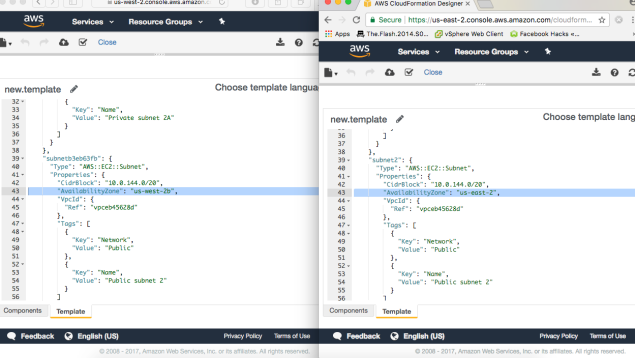
Renaming subnet 2 as well.
Again region for the subnet 2
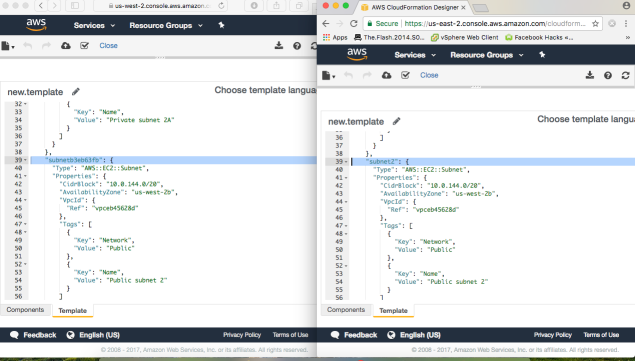
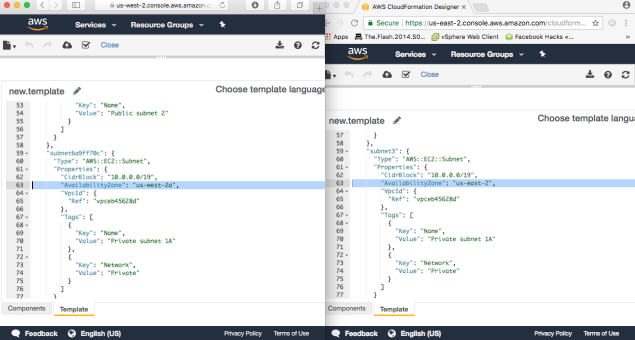
Edit the Subnet 3
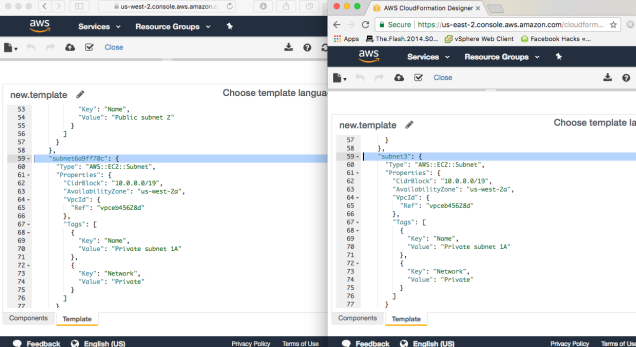
Region for the subnet 3
Subnet 4
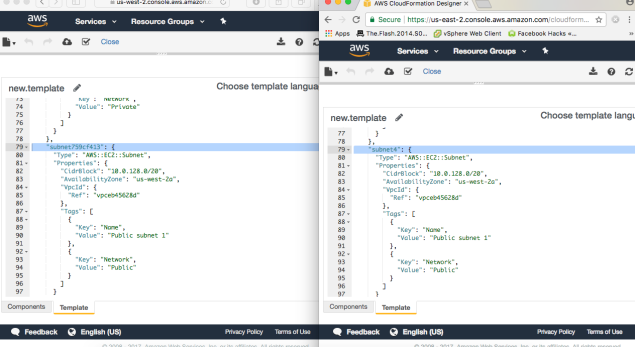
Region for the subnet 4
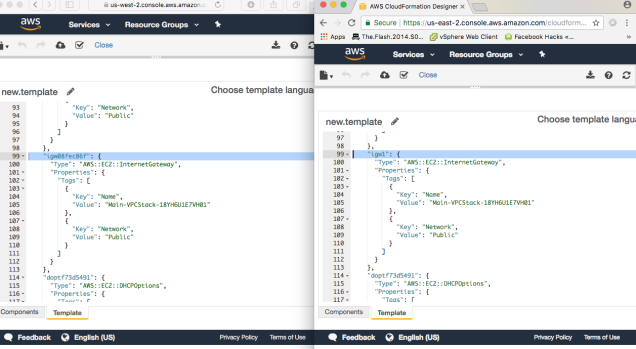
This is the igw (Internet Gateway) Edit it as well
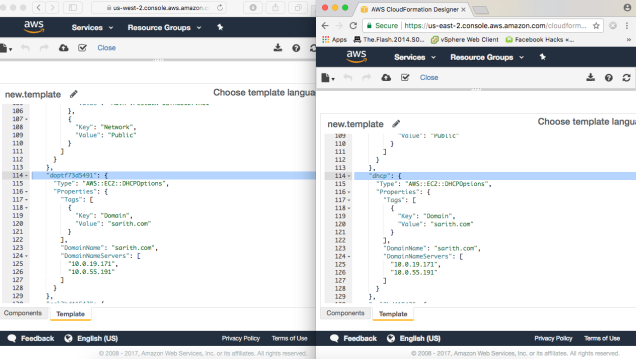
DHCP options. I am renaming the DHCP default one as DHCP
Network ACL. Edit it as well.
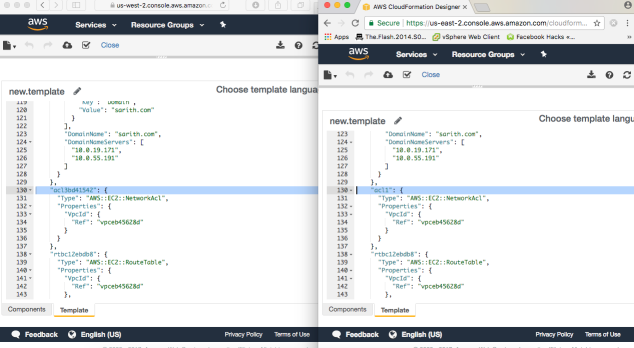
Route tables
Elastic IP. I am renaming it as I wish
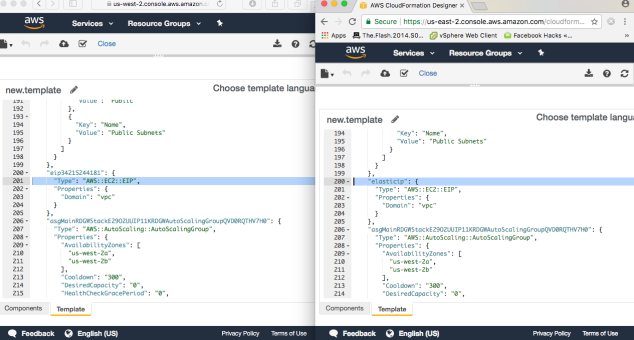
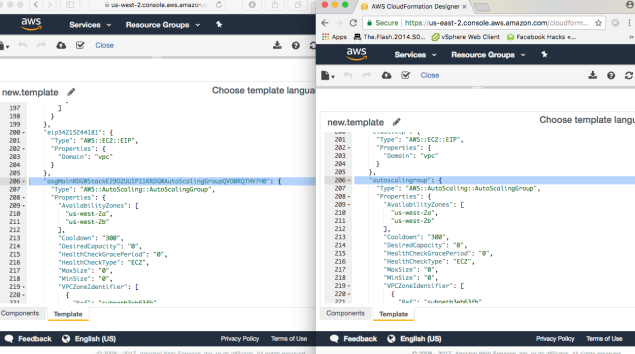
In the auto scaling group change the auto scaling groups as you wish too.
And edit the regions and availability zone
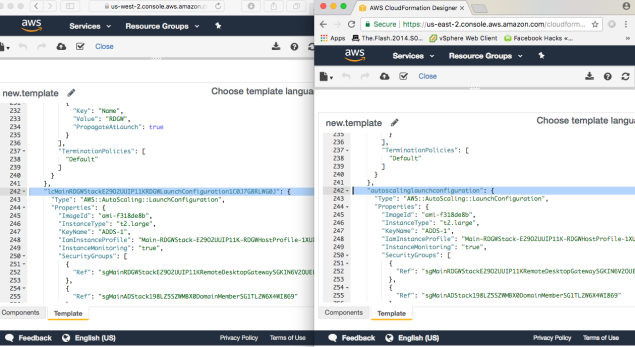
We have to change the AMI image ID as well. To do that go to EC2 AMI and get the Windows Server 2012 R2 Base AMI ID.
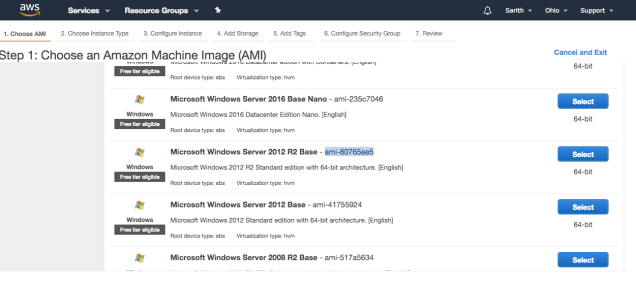
Change the AMI image ID.
Here add the key pair name. If you do not have any key pair yet. Then create a key pair in the region where you going to deploy the template and add the key pair name.
Delete the route 1,2,3, and 4 as well completely from the template that you are going to deploy.
Before you deploy this template validate it to see if there is any errors. When you edit the code it will look different with original one.

Click Create stack and give a name to it. If there is no errors then it will not roll back.
As you can see my stack is created successfully in another region. Previous one is created on Oregon region and manual one deployed on Ohio region.
Some Information
Make sure you change the region details according to the region you are going to deploy and make sure to change things correctly when you are changing something once.
Selecting AMI ID: AMI ID is different to region to region so you can have to select the right AMI ID according to the region you are going to deploy it.
Auto Scaling: Auto scaling group is enabled for the instance that is creating by the stack. Even you turn of or terminate the EC2 instance, Auto scaling group will create another one. Make sure to change auto scaling group settings as well.
